顯示具有 IT 標籤的文章。 顯示所有文章

2011/05/12

Generating Video Thumbnails With FFMPEG

Check out flowplayer's - http://flowplayer.org/tutorials/generating-thumbs.html

In short,

ffmpeg -i [video_file] -f image2 -vframes 1 [output_image].jpg


For example,

ffmpeg -ss 12 -i flowplayer.mov -f image2 -vframes 1 flowplayer-12.jpg

2010/05/28

MySQL 5.x Repair Cheat Sheet

If you upgrade MySQL or move the database around, you are most likely need to do those operations:

Backup

mysqldump -u root -p --default-character-set=utf8 databasename > data.sql

Restore

mysqldump -u root -p --default-character-set=utf8 databasename < data.sql
if database is larger then 100MB, this works better:
mysql -u root -p
#mysql> use the_database
#mysql> source data.sql

Check, Repair & Optimize All Tables in All Databases

If you need database server up, use mysqlcheck:
mysqlcheck -u root -p --auto-repair --check --optimize --all-databases


Or you can make it offline and do a better check:
service mysqld stop
myisamchk /var/lib/mysql/the_database/*.MYI
service mysqld start

Repair single table

mysql -u root -p
#mysql> use the_database
#mysql> repair table the_table


Reference:
http://www.felipecruz.com/repair-mysql-database.php

2008/05/06

trac-10.4 繁體中文版

trac-10.4-zh_TW Traditional Chinese translation
trac-10.4 繁體中文版

Modified from ZoomQuiet version, this version provides translation for Traditional Chinese.

To download: http://trac-hacks.org/wiki/TraditionalChineseTranslation

2008/04/19

4GB RAM on Vista

All 32-bit Operating Systems can only physically address 4 GB of RAM, due to the math involved (232 = 4,294,967,296). Depending on your hardware, Vista may only see 3GB or 3.5GB of the total RAM installed, because there are some devices that are memory mapped. The most common hardware of this type of device is a video card, which can use up to 512MB of memory for mapping.

You can tweak Vista's core to add another 4-bits of addressing capability, but you must have a 64-bit capable CPU (pretty much any processor made within the past two years like Core 2 Duo or Athlon 64). Even though the math works out to address way more than 4GB (236 = 68,719,476,736), the operating system still has a cap (Windows Server can address anywhere from 8GB to 128GB depending on the flavor).

To force this new addressing method, you have to tell Vista to boot using this new parameter. Vista no longer uses a BOOT.INI file as previous versions of Windows did, so you must modify the boot file using a built-in Vista tool called BCDedit.

To turn on PAE, in Command prompt, type BCDedit /set PAE forceenable.

This PAE flag (Physical Address Extension) tells the Vista core to use an additional 4 bits of addressing, which in theory allows the OS to see all of the RAM you have available. We're not out of the woods yet, because once you reboot you may find that Vista still doesn't see all of your RAM.

Using PAE might make Vista to run slower. Vista runs slower with PAE because of the new page-translation system being used. By default Vista uses 2 cycles to address memory, and will use 3 when Physicall Address Extension is enabled. PAE also supports advanced procesor features such as Data Execution Prevention (no execute), Non-Uniform Memory Architecture (NUMA), and hot-add memory. PAE is automatically disabled when DEP (Data Execution Prevention) is disabled, so you must force PAE when DEP is disabled by running BCDedit:

To disable DEP: BCDedit /set nx AlwaysOff

PAE force on: BCDedit /set pae ForceEnable

You can turn PAE off again by typing BCDedit /set PAE forcedisable or BCDedit /set PAE default.


2008/03/28

Touch Curise 必裝PPC

其他如Tytn II 也可以裝。請自行Google 檔名就下的到了

PHM Registry Editor
必裝

Cruise_Photo Quality.CAB
fix 照相機的bugs

SoftKeyAppletEx.cpl
直接拷到Windows目錄,然後在系統設定就可以看到
這個是用來設定下方menu的2個快捷鍵

iContact.exe
touch style 的通訊錄,隨便看你要拷到哪裡都行。拷完後用SoftKey Applet設成快捷鍵
裝完後通訊錄就可以touch囉

SPB Mobile Shell
比HTC HOME還棒

SSH
3G來remote 主機,讓你上山下海也可以work。比較適用有keyboard的PDC 如TytnII

QMenu
Windows Style menu

ClearTemp.CAB
三不五時清一下,保持PDA苗條建康

Skype

2008/03/20

VBScript & Outlook

If you get VBScript.DLL error when open up Outlook (v2000, 2003, up to 2007), here's how to fix it:

1. Start menu -> Office -> Language Tool
2. Change the language to match with your OS. For example, English->EN; Chinese->TW

That's it. Restart outlook and all should be fine.

2007/09/02

Cool Bandwidth Speed Tester (ADSL 速率測試)

When your ADSL operator said it's 8M, is it really that fast?

國內各大ISP 提供的測速網頁所 show的速率未必是實際速率 - 只能測出瞬間值。你用哪一家ISP用該家的測速網頁會較為公平 (從你家到機房端的速率) 。ISP比較能掌控的只有客戶到ISP自家機房這一段,而這也是身為消費者的我們能要求的...

這個 host在 DSL Report 的速率測試機就不同了,他不僅同時測量上下傳速率,並提供時間區段的均值,出來的統計結果專業多了,可惜只提供美國的。看來本島中華民族的差不多先生個性還是輸了...

Check it out: http://www.dslreports.com/speedtest?flash=1


keywords: Bandwidth test, 速率測試, ADSL

2007/08/20

Process Monitor by Mark Russinovich and Bryce Cogswell (SysInternal)

SysInternal is been around since DOS date. And yet still active and hard core as they always are.

Their recent production: Process Monitor, I'm adding it into my must have toolbox - it allows you to watch windows processes and track 'em Comprehensively.


Process Monitor is an advanced monitoring tool for Windows that shows real-time file system, Registry and process/thread activity. It combines the features of two legacy Sysinternals utilities, Filemon and Regmon, and adds an extensive list of enhancements including rich and non-destructive filtering, comprehensive event properties such session IDs and user names, reliable process information, full thread stacks with integrated symbol support for each operation, simultaneous logging to a file, and much more. Its uniquely powerful features will make Process Monitor a core utility in your system troubleshooting and malware hunting toolkit.

2007/01/12

Outlook 2007 Signature file location

E-mail signature is handy and became a business e-mail standard. MS Outlook provides e-mail signature feature since long ago. It allows you to edit it using its built-in editor or whichever editor you perfer to use. For me, I like to remove the MS specified HTML junk and therefore I've to use external editor such as Notepad.

MS has remove the right-click editing function in Outlook 2007, and the location of signature files is changed (from Outlook 2003). Here's the new default location in Outlook 2007:

%YOUR_PROFILE_LOCATION%\AppData\Roaming\Microsoft\Signatures
profile location = C:\Users\username

In version 2007, Outlook added a nice Name card feature. I decided to wait a little bit, until most people stop reading plain-text for e-mails.

why use signature in email?

2006/12/20

Change The Location Of The Documents Folder In Vista

by Diana Huggins on December 8, 2006 at 12:40 pm · Comments

The all familiar My Documents folder in Windows XP has been renamed the Documents folder in Vista. Vista creates Documents folder for each user that logs onto the computer and stores it in the appropriate profile folder. The default location for this folder is c:\Users\\Documents (assuming of course that you have installed Vista on your C: drive). You can store the Documents folder on another drive or in another folder. For example, if you have more free space on another drive, you can move it.

To accomplish this task, right click Documents from the Start Menu and select Properties. This opens the Properties dialog box for the Documents folder. Click the Location tab and type in the path to the location where you want to store the folder. Click OK. If the folder location you specified in the Target field does not exist, the Create Message dialog box will appear. Click Yes to create the folder and click OK. Alternatively, you can also select the Move button from the Location tab and browse to the location where you want to store the Documents folder.

Tags: , , , , ,

2006/02/11

Install OSX Tiger on Intel Boxes - VMWare rocks!

Many of the guides for installing OSX Tiger are complicated and use linux. You can install OSX using public-domain free windows only tools.

If you wish to install OSX tiger to your intel machine or usb drive, you can follow these few steps. Be careful because you can kill your hard drive if you are not careful.

You will need either a seperate hard drive (seperate partition will not do) or an external hard drive. Whatever extra hard drive you use will be completely replaced by osx and you will lose all information on that drive.

1. Authorized users should obtain the OSX files from Apple. It is illegal to obtain them from torrent sites by searching under the following keywords: "VMWare files for patched Mac OS X Tiger Intel"
2. Unrar these files to the root of your C: drive
3. Download Forensic Acquisition Utilities
4. Unzip these files and copy dd.exe to the root of c: drive as well

Note: the dd.exe program is used to write the image to your spare hard drive or external hard drive. The command is the following:

dd if=c:\tiger-x86-flat.img of=\\.\PhysicalDriveSomething


PhysicalDriveSomething
should be replaced with your real physicaldrive (PhysicalDrive1, PhysicalDrive2, etc.). What your hard drives or usb drives are labelled is not always obvious. So I use WMI to figure this out. If you don't need it, don't get it. It's free... and it may prevent you from killing your wrong hard drive.

5. Download WMI Tools from Microsoft
6. Open WMI Browser Object
7. Allow block content and click the OKs until it loads
8. Select Win32_SystemPartitions.PartComponent in the left column
9. In the right column right-click on the drive device id (Disk #0, Partition #0, etc) and select Go to Object
10. The device window will open and click the associations tab
11. Exploring with this tool you should be able to match drive letters (Win32_LogicalDisk.DeviceID="C:") to each physicaldisk reference (Win32_DiskDrive.DeviceID="\\\\.\\PHYSICALDRIVE0")

12. Now that you know the physicaldrive label for your extra internal or external drive, you can drop to the root of your c: drive and run the command. Be sure to replace the physicaldrive text with the physical drive you determined above. If you use the wrong one, you will erase your primary hard drive.

dd if=c:\tiger-x86-flat.img of=\\.\PhysicalDrive

13. The command will appear to hang but you will notice your extra harddrive cranking away. It's going to do this for 15min to hours. Just let it run.
14. Once it is done, reboot and set the osx drive to your boot drive through your bios.
15. If your hardware is compatable, you should boot to OSX.

If you need to debug, I recommend these forums.

This wiki is also excellent:
http://wiki.osx86project.org/wiki/index.php/Main_Page

UNEASYsilence was one of the first to report on the OSX on intel hack... and is still a good source for updated news on the topic.

2005/02/16

What is a .BIN? What is a .CUE? What is an .ISO

The .BIN & .CUE CD image format was made popular by the CDRWin software. Afterwards many programs have started supporting or partially supporting it, including: Nero, BlindWrite, CloneCD, FireBurner. The .CUE file contains the track layout information, while the .BIN file holds the actual data.

ISO is also a CD image format, but is sometimes used for 'ISO9660 format' (standard, recognized by all applications) and sometimes for unique Easy CD ISO format.

There are varity ofsoftware that can handle .BIN, .CUE,and .ISO files. Each extension can be burnedinto aCD-R or a CD-RW. Below listed some of the popular software available in the market today:

  • Alcohol 120% - My favourite, excellent software, easy and yet very advanced (burns ISO, BIN/CUE, CCD, CDI, BWT files!)
  • BlindWrite - easy to use
  • FireBurner - also very good, a single .EXE file!
  • BurnAtOnce - A handy and FREE tool for burning .bin/.cue/.iso. Easy to use.
  • Nero - many of you have this, but it can't handle all image files.
  • CDRWin - This is the original BIN/CUE software.

In case you don't have CD/DVD burner, or in case you just want to read the content without any CD/DVD media. You can "mount" the image files as virtual CD-ROM drives using:

There are also several softwares you can use to exploit & manipulate BIN/CUE files in various ways:

FAQs

1. I have a .BIN file but no .CUE?
You will need to hand made the .CUE file. .CUE can be made with just Notepad. A typical PC CD-ROM .CUE looks like this:

FILE "image-name.BIN" BINARY
TRACK 01 MODE1/2352
INDEX 01 00:00:00


A typical Playstation(One or Two) .CUE file looks like this:

FILE "image-name.BIN" BINARY
TRACK 1 MODE2/2352
INDEX 1 00:00:00

"image-name.BIN" being the name of the image file (IWDII.BIN, CIV3.BIN and so on...)
Notice the difference of the track mode - PC-ROMs being Mode 1, Playstations CDs Mode 2 and (Super)Video CDs are also MODE2/2352.

2. How do I make .BIN & .CUE files?
CDRWin or the BIN/CUE format is not ideal for distributing. BlindWrite suite and CloneCD perform a lot better in this purpose and can also handle various copy protections. Both of these softwares can also create .CUE files for increased compatibility.

3. I have a .BIN & .CUE, but my CD writing software can't locate the .BIN file?
Edit the .CUE file with Notepad (or similar) and verify that the FILE "C:\path\image.bin" matches the location of your image file.

4. My image file is IMAGE.BIN.EXE and I can't rename it!
Read here - http://forums.afterdawn.com/thread_view.cfm/23982

5. Sector sizes of CD image files (by Aldaco12)?
When you talk about images must think on SECTORS not on DATA SIZE. The rules are:

Facts:

  1. A standard 74 min CD is made by 333,000 sectors.
  2. Each sector is 2352 bytes big, and contains 2048 bytes of PC (MODE1)Data, 2336 bytes of PSX/VCD (MODE2) Data or 2352 bytes of AUDIO.
  3. The difference between secor size and data content are the Headers info and the Error Correction Codes, that are big for Data (high precision required), small for VCD (standard for video) and none for audio.
  4. If you extract data in RAW format (standard for creating images) you always extract 2352 bytes per sector, not 2048/2336/2352 bytes depending on data type (basically, you extract the whole sector).
  5. This fact has two main consequences:
  6. You can record data at very high speed (40x) without losing information, but if you try to do the same with PSX or Audio you get unredable CD (for PSX) od audio CD with lots of clicks because there are not error correction codes (and error are more likely to occur if you record at high speed.
  7. On a 74 min CD you can fit very large RAW images,up to 333,000 x 2352 = 783,216,000 bytes (747 Mb). This should be the upper limit for a RAW image created from a 74 min CD. Remember that if you store standard data (backup files), you can burn only 333,000 x 2048 = 681,984,000 bytes (the well known 650 MB limit).

    Note that an image size is ALWAYS a multple of 2352 bytes (you extract SECTORS), if extracted in RAW mode.

2004/08/10

Accessing Custom Site Templates through the Sharepoint API

Using custom site templates in Sharepoint is a really powerful feature. You can customize your WSS site through frontpage or the web UI and save the site as a template. By default the template is stored in the top-level site template gallery of the site you customized.

This template can be exported as an ".stp" file and imported on other top-level websites. But you can also place the template in two other locations. The three locations for site templates are:
Top-Level (WSS) Site Template Gallery Sharepoint Portal Server Template Gallery Sharepoint Virtual Server TemplatesTo enter the template into the Portal gallery go to Portal > Site Settings > Manage security and additional settings > Manage site template gallery and upload your ".stp" file (read on to find out why this is useless).

To enter the template into the Virtual Server Templates open the commandline at the directory \Program Files\Common Files\Microsoft Shared\web server extensions\60\BIN and run stsadm -o addtemplate -filename \sitetemplate.stp -title sitetemplate

You can run stsadm -o enumtemplates to verify that your template was added, and you'll also notice that it's been given a name like "_GLOBAL_#1". If you've added a template to the Sharepoint Portal Server Template Gallery (#2 above) you'll notice that this template is not listed when using stsadm.

  • Team Site, STS#0
  • Blank Site, STS#1
  • Document Workspace, STS#2
  • Basic Meeting Workspace, MPS#0
  • Blank Meeting Workspace, MPS#1
  • Decision Meeting Workspace, MPS#2
  • Social Meeting Workspace, MPS#3
  • Multipage Meeting Workspace, MPS#4
  • Business Activity Services Team Site, BAS#0
  • SharePoint Portal Server Site, SPS#0
  • SharePoint Portal Server Personal Space, SPSPERS#0
  • SharePoint Portal Server My Site, SPSMSITE#0
  • Contents area Template, SPSTOC#0
  • Topic area template, SPSTOPIC#0
  • News area template, SPSNEWS#0
  • News Home area template, SPSNHOME#0
  • Site Directory area template, SPSSITES#0
  • SharePoint Portal Server BucketWeb Template, SPSBWEB#0
  • Community area template, SPSCOMMU#0
  • sitetemplate, _GLOBAL_#1 <- My custom template on the Virtual Server

When you look at the Sharepoint SDK for the SPSiteCollection.Add method there is a parameter for sitetemplate. In the example they've used "STS#0", which indicated that the method expects the Name property of the SPWebTemplate, and that it makes a selection from the templates on the virtual server. So if you want to create a site with the template you just deployed with stsadm, specify "_GLOBAL_#1". If you find it uncomfortable to use this generated name a simple mapping can be applied like this:

string template = "My Template Title";
SPGlobalAdmin globalAdmin = new SPGlobalAdmin();
SPWebTemplateCollection webTemplates
= globalAdmin.VirtualServers[0].GetWebTemplates(lcid);
foreach(SPWebTemplate t in webTemplates)
if (t.Title.CompareTo(template) == 0) template = t.Name;

So what do you specify if you want to apply one of the templates in the Sharepoint Portal Server Template Gallery? After all, it's more user friendly to expose templates here than through the command line interface (if you're not doing complex automated deployments that is). Well by looking in the Gallery UI in Site settings you'll notice that the Name property of the template you've uploaded is TemplateName.stp. Supplying this as a parameter to the SPSiteCollection.Add method will not work. The template won't be found.

The only way to get a hold of these templates are by accessing the SPSite of the portal (either by using context site or creating a new object). You'll find these templates by using the SPSite.GetCustomWebTemplates method. The problem is that SPSite has no way of applying a template other than in the constructor. That leaves you with manipulating the SPSite.RootWeb object after you've created the new SPSite.

But now you've got two different SPSite objects; the portal and the top-level site you just added. Because the templates are stored on the portal SPSite object they cannot be accessed on the top level website. This is because the method SPWeb.ApplyWebTemplate(SPWebTemplate obj) actually is just an overload that reads the SPWebTemplate name property as a string and passes it down to the SPSite object, which in turn looks up in it's own template gallery.

So the conclusion is that for top-level websites you have to deploy your templates using stsadm. Then what's the use of the Sharepoint Portal Server Template Gallery? Beats me. I haven't actually found any of the templates I've added to that list anywhere else than in the SPSite object of the portal root site.

2001/09/06

Dig around to find ActiveX control? Try this - ActiveX Manager

ActiveX Manager is a utility software for ActiveX control registered on your local computer. I found it helpful when I dig around to find Sharepoint's upload control.

Below is a sample report generated for my box, which runs Windows XP Pro SP2, all up-to-date MS updates, Office 2003, VS.NET 2003 and 2005, SQL2003 and 2005, et al.

--------------------------------------------------------------------------------
Computer Name: xxxx
Generated On: Monday, January 30, 2006
Control Count: 159
--------------------------------------------------------------------------------

Control Name: Ref Edit Control
Version: 1.0
Status: Registered
ProgID: RefEdit.Ctrl
CLSID: {00024512-0000-0000-C000-000000000046}
TypeLib: {00024517-0000-0000-C000-000000000046}
File Location: C:\Program Files\Microsoft Office\OFFICE11\REFEDIT.DLL
File Size: 77824 Bytes
Created: 05/08/03 21:54:00
Modified: 05/08/03
Accessed: 01/27/06

--------------------------------------------------------------------------------

Control Name: Microsoft Data Bound Grid Control 5.0 (SP3)
Version: 1.0
Status: Registered
ProgID: MSDBGrid.DBGrid
CLSID: {00028C00-0000-0000-0000-000000000046}
TypeLib: {00028C01-0000-0000-0000-000000000046}
File Location: C:\WINDOWS\SYSTEM32\DBGRID32.OCX
File Size: 525352 Bytes
Created: 06/24/98 00:00:00
Modified: 06/24/98
Accessed: 01/30/06

--------------------------------------------------------------------------------

Control Name: Microsoft Office XP Web Components
Version: 1.0
Status: Registered
ProgID: OWC10.Spreadsheet.10
CLSID: {0002E551-0000-0000-C000-000000000046}
TypeLib: {0002E550-0000-0000-C000-000000000046}
File Location: C:\PROGRA~1\COMMON~1\MICROS~1\WEBCOM~1\10\OWC10.DLL
File Size: 7330360 Bytes
Created: 08/04/03 13:19:34
Modified: 08/04/03
Accessed: 01/27/06


--------------------------------------------------------------------------------


Control Name: Microsoft Office Web Components 11.0
Version: 1.0
Status: Registered
ProgID: OWC11.Spreadsheet.11
CLSID: {0002E559-0000-0000-C000-000000000046}
TypeLib: {0002E558-0000-0000-C000-000000000046}
File Location: C:\PROGRA~1\COMMON~1\MICROS~1\WEBCOM~1\11\OWC11.DLL
File Size: 8086072 Bytes
Created: 08/01/03 15:09:04
Modified: 08/01/03
Accessed: 01/27/06

and on...

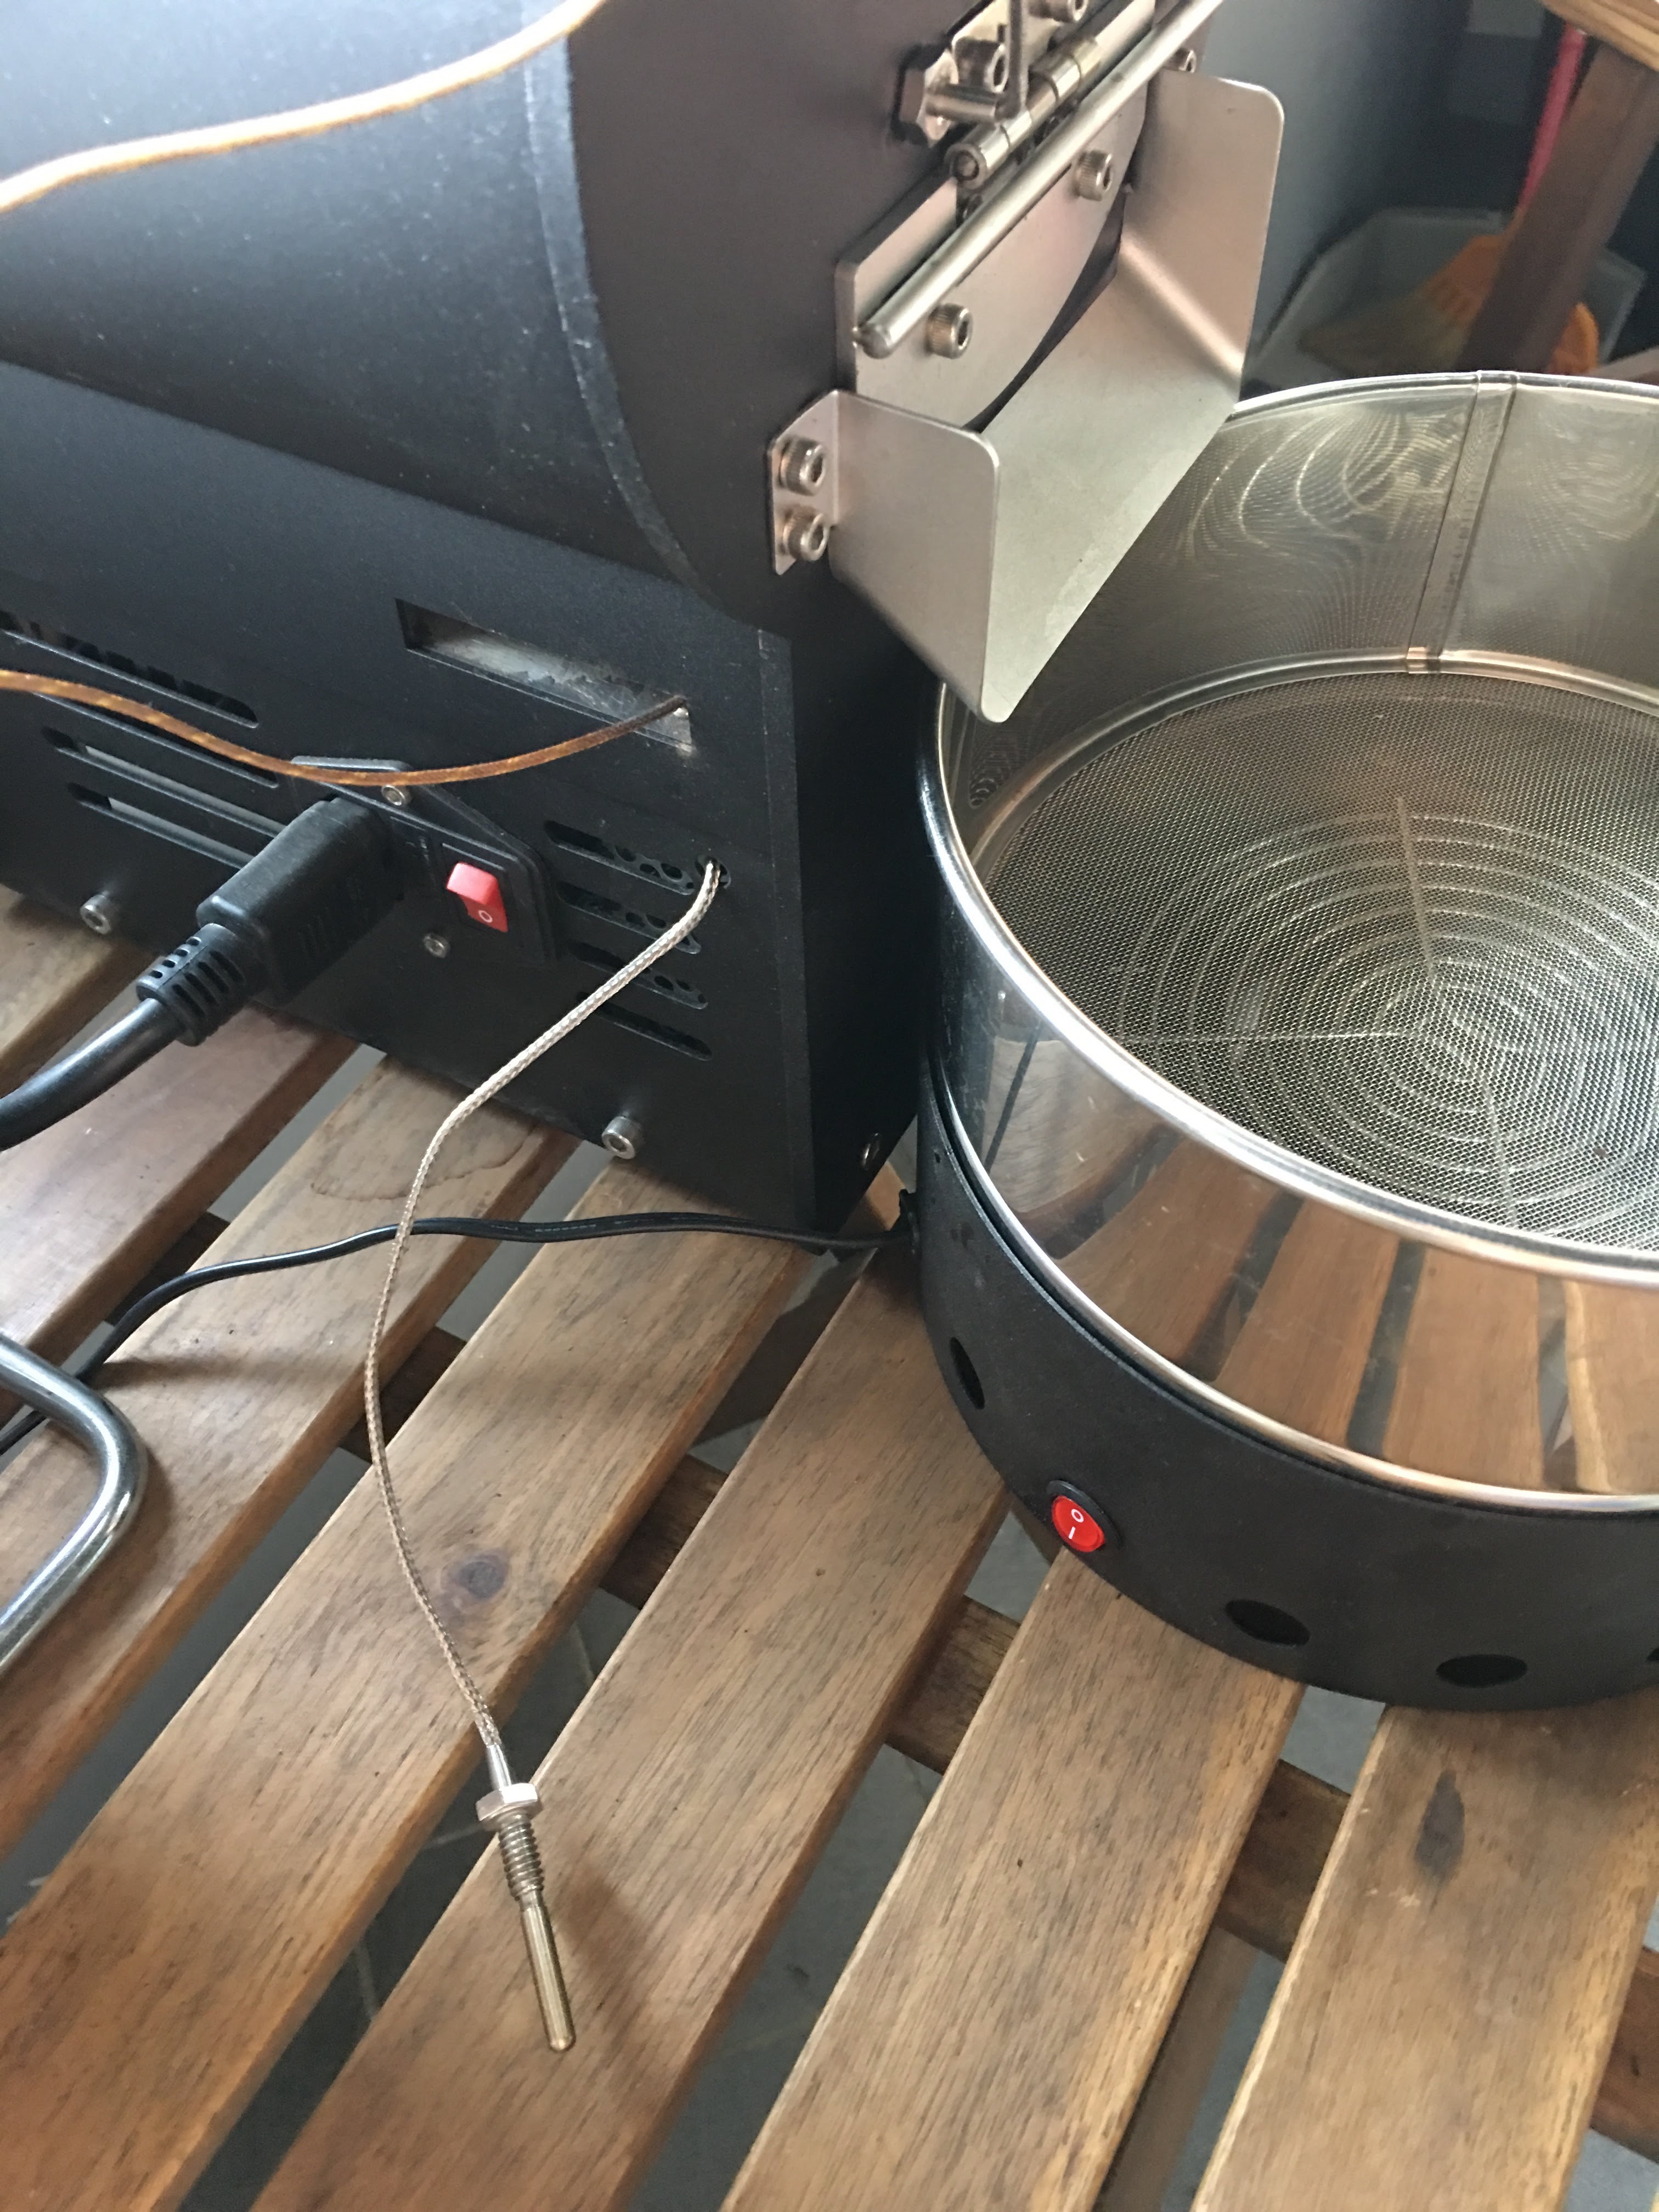
Mercury簡易改裝

有同好有一樣的困擾 - 如何使用自己的data logging軟體,因此寫了這篇來分享我的簡易改裝。 Background 雲豆子 MERCURY roaster 烘豆機的設計是使用自行開發的軟體,來:1. 操控風門/火力; 2. data logging/自動烘焙。 ...