顯示具有 Tech Note 標籤的文章。 顯示所有文章

2011/02/10

Building HandBrakeCLI for CentOS

Problem with CentOS & other RHEL is that it's packages are updated slowly. Building software like Handbrake needs additional steps.

1. First of all, you need to have the essential development tools:
yum groupinstall "Development Tools" "Development Libraries" \
"X Software Development" "GNOME Software Development"

yum install yasm zlib-devel bzip2-devel \
dbus-glib-devel libgudev1-devel webkitgtk-devel libnotify-devel \
gstreamer-devel gstreamer-plugins-base-devel


2. Build Autoconf 2.61 (stock is 2.59) and install to /opt
wget http://ftp.gnu.org/gnu/autoconf/autoconf-2.61.tar.bz2
tar xjf autoconf-2.61.tar.bz2
cd autoconf-2.61
./configure --prefix=/opt
make
sudo make install


3. Use the 2.61 version
export PATH=/opt/bin:$PATH

4. Greb latest source from subversion or download from Handbrake source.
Here we assume you download the tar source:
wget http://handbrake.fr/rotation.php?file=HandBrake-0.9.5.tar.bz2
tar zxvf HandBrake-0.9.5.tar.gz


5. Config & build
GUI version is no supported according to the Handbrake forum. --disable-gtk option will generate CLI build.
cd HandBrake-0.9.5
./configure --disable-gtk --launch

it's gonna take awhile depending on your hardware...

-------------------------------------------------------------------------------
time end: Thu Feb 10 12:57:49 2011
duration: 20 minutes, 2 seconds (1202.42s)
result: SUCCESS
-------------------------------------------------------------------------------
Build is finished!

6. Install
If no other trouble, you get the success build result. Now install it:
cd build
make install

This will copy the build to /usr/local/bin/HandBrakeCLI and now enjoy the work!
HandBrakeCLI --help

Reference:
  1. https://trac.handbrake.fr/wiki/CompileOnLinux
  2. https://forum.handbrake.fr/viewtopic.php?f=13&t=19479
  3. http://linuxtoolkit.blogspot.com/2010/10/installing-handbrake-on-fedora-13.html

2011/01/07

iphone, 威寶 & APN

威寶APN設定
吃到飽APN: internet
日租APN: vibo
username / password 皆空白

設好後internet tethering才會work.

device: iPhone 3G
iOS: 4.1 Pwnage JB
baseband: 6.15
bootloader: 6.02

2010/11/19

iPhone iPAD tethering

1. JB the iPhone - redsn0w
2. Open Cydia, add the source - http://www.sinfuliphonerepo.com
3. Install MyWi Cracked
4. Open MyWi, set it up so iPhone become a wifi router.
5. wifi iPAD over.

2010/05/28

MySQL 5.x Repair Cheat Sheet

If you upgrade MySQL or move the database around, you are most likely need to do those operations:

Backup

mysqldump -u root -p --default-character-set=utf8 databasename > data.sql

Restore

mysqldump -u root -p --default-character-set=utf8 databasename < data.sql
if database is larger then 100MB, this works better:
mysql -u root -p
#mysql> use the_database
#mysql> source data.sql

Check, Repair & Optimize All Tables in All Databases

If you need database server up, use mysqlcheck:
mysqlcheck -u root -p --auto-repair --check --optimize --all-databases


Or you can make it offline and do a better check:
service mysqld stop
myisamchk /var/lib/mysql/the_database/*.MYI
service mysqld start

Repair single table

mysql -u root -p
#mysql> use the_database
#mysql> repair table the_table


Reference:
http://www.felipecruz.com/repair-mysql-database.php

2010/04/03

CentOS: Install git

1. Download and install EPEL if you don't have it yet:
rpm -Uvh http://download.fedora.redhat.com/pub/epel/5/i386/epel-release-5-3.noarch.rpm


2. Install git via yum
yum --enablerepo=epel install git


2010/03/07

Andriod Emulator ERROR: could not find virtual device name: xxx

If you get this error, it's because your windows user home directory is changed. Fix the error by adding a environment variable named ANDROID_SDK_HOME, and set the value to, for example, d:\users\MY_USERNAME.

Click to view


Reference: http://www.mail-archive.com/android-beginners@googlegroups.com/msg13718.html

2010/01/18

MacBook Pro - Very Poor Volume Output FIXED!

If your bootcamp windows is having very poor volume output on 2009 unibody MacBook Pro, here's the solution: http://www.stuffedcow.net/macbook_audio. Thank you, Henry.

I follow the instruction below, plus a reboot, and fixed the problem:
  1. Download and unzip this package: CirrusAudioXP_Macbook_c.zip 1.0.0.13c (Nov. 1, 2009).
  2. In Device Manager, Update Driver for the Cirrus Logic High Definition Audio device. Don't let Windows search for or do anything automatically. Manually choose to the driver from a list, and use the "Have Disk..." button.
  3. Reboot.
My configuration is latest 13" MBP (MB990LL/A), bootcamp 3.0 from Snow Leopard, and latest Windows 7 (build 7600).

The detail discussion can be viewed here: http://discussions.apple.com/thread.jspa?threadID=2037093&start=449

2009/12/25

Linux & NTFS

http://wiki.centos.org/zh-tw/TipsAndTricks/NTFS

1. Install
yum --enablerepo=rpmforge install fuse fuse-ntfs-3g

2. Mount it
mount /dev/The_NTFS_PARTION /the_mount_point

That's it.

2009/11/12

ssh via apache deamon user

Scenario: You have a web script (php, ruby, python, or so) that need to ssh over a remote machine to do stuff. How you do set up ssh key for the apache deamon user?

After some dig out, here's the steps, mostly taken from (Boredworkers.com):

Make key for apache daemon
1. log in to source server as root
2. create .ssh directory for apache user. Make sure you have the ownership right:

$ mkdir /var/www/.ssh
$ chown -R apache:nobody /var/www/.ssh


3. Generate the ssh-key authentication key as user apache using sudo. Use the default file location and leave empty when prompted for passphrase.

$ sudo -u apache ssh-keygen -t rsa


4. Append apache's public key to destination server

$ sudo -u apache cat .ssh/id_rsa.pub | ssh dest_user@dest_server 'cat >> ~/.ssh/authorized_keys'


5. Test the set up. You’ll see that you can now run ssh commands without being prompted for the user password:

$ sudo -u apache ssh dest_user@dest_server


refernce: http://www.boredworkers.com/2009/08/24/script-tips-ssh-key-for-apache/

2009/10/23

REHL: mount iso images

Below is the way to mount iso image file in REHL system:

Before you start to mount your iso image, you need to ensure the folder /mnt/isoimage is available, if /mnt/isoimage is not available just create one using command below:-

#mkdir /mnt/isoimage

* Once isoimage directory is available, you can use the command below to mount your iso image

# mount -o loop -t iso9660 myisoimage.iso /mnt/isoimage/

* You just mount your iso image file to /mnt/isoimage successfully. To access your iso image files, go to /mnt/isoimage

Once you finish using your files, below is the way to unmount your iso image:-

# umount /mnt/isoimage

2009/09/26

REHL: rsync setup & ssh keys

Have you ever wanted to know how to easily synchronize the data between multiple servers automatically?

rsync is the anwser. And here's some note. We will use rsync, ssh key authentication, and a cron job.

Let’s call the 2 servers "SOURCESERVER" and "DESTSERVER" for:
SOURCESERVER = Source server (the server we’re connecting from to upload the data)
DESTSERVER = Destination server (the server we’re connecting to receive the data)

Part 1 - Setting up SSH key authentication
First, we need to make sure the DESTSERVER has the ability to use key authentication enabled. Find your sshd configuration file (usually /etc/ssh/sshd_config) and enable the following options if they are not already set.

RSAAuthentication yes
PubkeyAuthentication yes
AuthorizedKeysFile .ssh/authorized_keys


If you edit the file be sure to restart sshd afterwards.

#service sshd restart


Next, on the SOURCESERVER we will create the public & private key pair to be used for authentication with the following command:

ssh-keygen -t dsa

*Note 1: Do not enter a passphrase for this, just hit enter when prompted.
*Note 2: if SOURCESERVER doesn't have key yet, do the keygen as well.

This should create 2 files in ~/.ssh folder, a public key file (id_dsa) and a private key file (id_dsa.pub).

The private key file (~/.ssh/id_dsa) we will keep on the SOURCESERVER.

*Be sure to keep this private key safe. With it anyone will be able to connect to the DESTSERVER that contains the public key.

chmod 700 ~/.ssh
chmod -R 600 ~/.ssh/*


Now we will add the public key we created on to the DESTSERVER.
Choose the user account which you will use to connect to on DESTSERVER, we'll call this user ‘destuser’ for now.

The public key file (~/.ssh/id_dsa.pub) we will upload to the DESTSERVER, and call it SOURCESERVER.pub.

scp ~/.ssh/id_dsa.pub DESTUSER@DESTSERVER:~/.ssh/SOURCESERVER.pub


On the DESTSERVER, in the DESTUSER's home directory, in the .ssh folder, create a new text file called "authorized_keys".
touch ~/.ssh/authorized_keys

If it already exists, great, we will use the existing authorized_keys file to add the SOURCESERVER's public key.

cat ~/.ssh/SOURCESERVER.pub >> ~/.ssh/authorized_keys


Be sure the permissions for key files are 600 and 700 for the ‘.ssh’ folder.

Now to test that the keys are working. From the SOURCESERVER try logging in as normal using ssh to the DESTSERVER.

# ssh destuser@DESTSERVER


If all is working you should not be prompted for a password and able to connected directly to a shell on the DESTSERVER.

Part 2 - Creating the rsync script
Now for the rsync script. I use a simple script such as the following

#!/bin/bash

SOURCEPATH=’/source/directory’
DESTPATH=’/destination’
DESTHOST=’123.123.123.123′
DESTUSER=’destuser’
LOGFILE=’rsync.log’

echo $’\n\n’ >> $LOGFILE
rsync -av –rsh=ssh $SOURCEPATH $DESTUSER@$DESTHOST:$DESTPATH 2>&1 >> $LOGFILE
echo “Completed at: `/bin/date`” >> $LOGFILE

Copy this file into the home directory of the sourceuser on the SOURCESERVER and modify the first 4 variables in the file.

SOURCEPATH (Source path to be synced)
DESTPATH (Destination path to be synced)
DESTHOST (Destination IP address or host name)
DESTUSER (User on the destination server)

Save it as something like ‘rsync.sh’

Set the permissions on the file to 700.
# chmod 700 rsync.sh

Now you should be able to run the script, have it connect to the DESTSERVER, and transfer the files all without your interaction.

The script will send all output to the ‘rsync.log’ file specified in the script.

Part 3 - Setting up the cron job

Assuming everything has worked so far all that’s left is to setup a cron job to run the script automatically at a predefined interval.

As the same sourceuser use the ‘crontab’ command to create a new cron job.

# crontab -e

This will open an editor where you can schedule the job. Enter the following to have the script run once every hour:

# Run my rsync script once every hour
0 * * * * /path/to/rsync.sh

Your 2 servers should now be syncing the chosen directory once every hour.

2009/09/20

Prevent .DS_Store file creation over network connections

1. Open the Terminal application from the Utilities folder which is nested in the Applications folder

2. In the newly opened terminal type:

defaults write com.apple.desktopservices DSDontWriteNetworkStores true

3. Restart the computer for the change to take effect

Reference: http://support.apple.com/kb/HT1629

2009/09/19

VMware Fusion - remove "Bootcamp partition" from Virtual Machine Library List

The boot camp VM is broken because missing files. How do you redo it all?

It's extremely annoying that one cannot remove the Boot Camp partition entry on the Virtual Machine Library without going through some hoops and jumps...

If you do the following this will stop the Boot Camp partition entry from showing on the Virtual Machine Library...

1. Close Fusion

2. In a Terminal (/Applications/Utilities/Terminal) copy and paste the following command, as is, and then press Enter and type in your password then press Enter.

sudo mv "/Library/Application Support/VMware Fusion/vmware-rawdiskCreator" "/Library/Application Support/VMware Fusion/vmware-rawdiskCreator.bak"


3. Open Fusion and then ctrl-click the Boot Camp partition entry on the Virtual Machine Library and select Delete.

Note: If you have Imported the Boot Camp partition as a normal file based Virtual Machine you could have a Boot Camp partition entry on the Virtual Machine Library that you do not want to delete so before deleting the Boot Camp partition entry on the Virtual Machine Library you can ctrl-click the Boot Camp partition entry on the Virtual Machine Library and select Show in Finder and then make sure this is the one in your "/Users/${USER}/Library/Application Support/VMware Fusion/Virtual Machines/Boot Camp" folder before removing it from the Virtual Machine Library.

To restore the Boot Camp partition entry on the Virtual Machine Library...


1. Close Fusion

2. In a Terminal (/Applications/Utilities/Terminal) copy and paste the following command, as is, and then press Enter and type in your password then press Enter.

sudo mv "/Library/Application Support/VMware Fusion/vmware-rawdiskCreator.bak" "/Library/Application Support/VMware Fusion/vmware-rawdiskCreator"

Reference: http://communities.vmware.com/thread/200649

2009/09/06

How to reset su password in snow leopard

In 10.5.x or earlier version of OSX, you use Directory Utility to enable root user and reset its password. In Snow Leopard, the utility is removed under the Application/Utility folder. So what do you do?

sudo passwd

Alternately, you can navigate to /System/Library/CoreServices/Directory Utility.app to do it in the old way.

How-To: Recursively remove .svn folders

Moved from windows to mac, the old "D drive" staff need a bit of re-org. One big trouble I found is that OSX doesn't deal with file start with "dot" well. For example, the ".svn" folders.

So how to get rid of these? On any *nix machine (Mac included) you can run the following command:

rm -rf 'find . -type d -name .svn'

Drupal install on CentOS5

PHP 5.3 is not supported on current Drupal (6.14), and CentOS's PHP version is still on 5.1.9. So the drupal installation needs a little bit of work.

1. Install MySQL 5.1
cd /etc/yum.repos.d
wget wget http://rpms.famillecollet.com/enterprise/remi-release-5.rpm
yum --enablerepo=remi install mysql mysql-server mysql-devel mysql-libs


2. Install PHP 5.2.9 from CentOS testing repository:
cd /etc/yum.repos.d
wget http://dev.centos.org/centos/5/CentOS-Testing.repo
yum --enablerepo=c5-testing install php php-devel php-pear php-pecl php-mcrypt php-xml php-xml php-imap php-soap php-mbstring php-mysql php-cli php-mysql


3. drupal clean URL config (sample)
there are many ways to turn on clean URL. Here's how I do it:
AllowOverride All
Options Indexes FollowSymLinks MultiViews
Order allow,deny
Allow from all

RewriteEngine on
RewriteBase /
RewriteCond %{REQUEST_FILENAME} !-f
RewriteCond %{REQUEST_FILENAME} !-d
RewriteRule ^(.*)$ index.php?q=$1 [L,QSA]

Alias /drupal /var/www/drupal


4. PHP.ini
modify the following keys, this is my settings:

max_input_time = 100 ; Maximum amount of time each script may spend parsing request data
memory_limit = 100M ; Maximum amount of memory a script may consume (16MB)
error_reporting = E_ALL
memory_limit = 100M ; Maximum amount of memory a script may consume (16MB)
upload_max_filesize = 100M


5. upload progress

add the extension to php.ini:
if you don't have gcc installed:
yum -y groupinstall "Development Tools"

install pecl related if you don't have them yet:

yum -y install php-devel php-pecl php-pear


install the upload progress:

pecl install uploadprogress


edit your /etc/php.ini and add this line under extension section:

extension=uploadprogress.so


6. GD library

yum --enablerepo=c5-testing install gd gd-devel php-gd


6. Install drupal

2009/08/31

MacBook Pro - share internet connection with Windows PDA via Bluetooth

To share 3G connection from PDA to MacBook, here's the steps:

1. Turn on Bluetooth on both devices (MBP and PDA)
2. Pair up (if you're not yet done it)
3. Start the internet sharing program on PDA
4. On MBP, click on the bluetooth icon on the menu bar (assuming you have it on the menu bar), under your PDA device, select "Connect".
5. Happy browsing.

My working device is: MBP 990 (OSX 10.5.8), HTC Curise (WM 6.1).

2009/08/30

Quickest way to reset mysql root password

If you forgot root password for MySQL, this is the quickest way to reset it. You need to have root access to the box.
service mysqld stop

wait until MySQL shuts down. Then run
mysqld_safe --skip-grant-tables &

**In Windows, cd to mysql path, e.g. C:\Program Files\MySQL\MySQL Server 5.1\bin, then
mysqld.exe -u root --skip-grant-tables


then you will be able to login as root with no password.
mysql -u root

In MySQL command line prompt issue the following command:
mysql> use mysql;
mysql> UPDATE user SET password=PASSWORD('the_new_password') WHERE user='root';
mysql> FLUSH PRIVILEGES;

At this time your root password is reset and MySQL will now know the privileges and you'll be able to login with your new password:
mysql -u root -p


Back to production mode
killall mysqld
service mysqld start

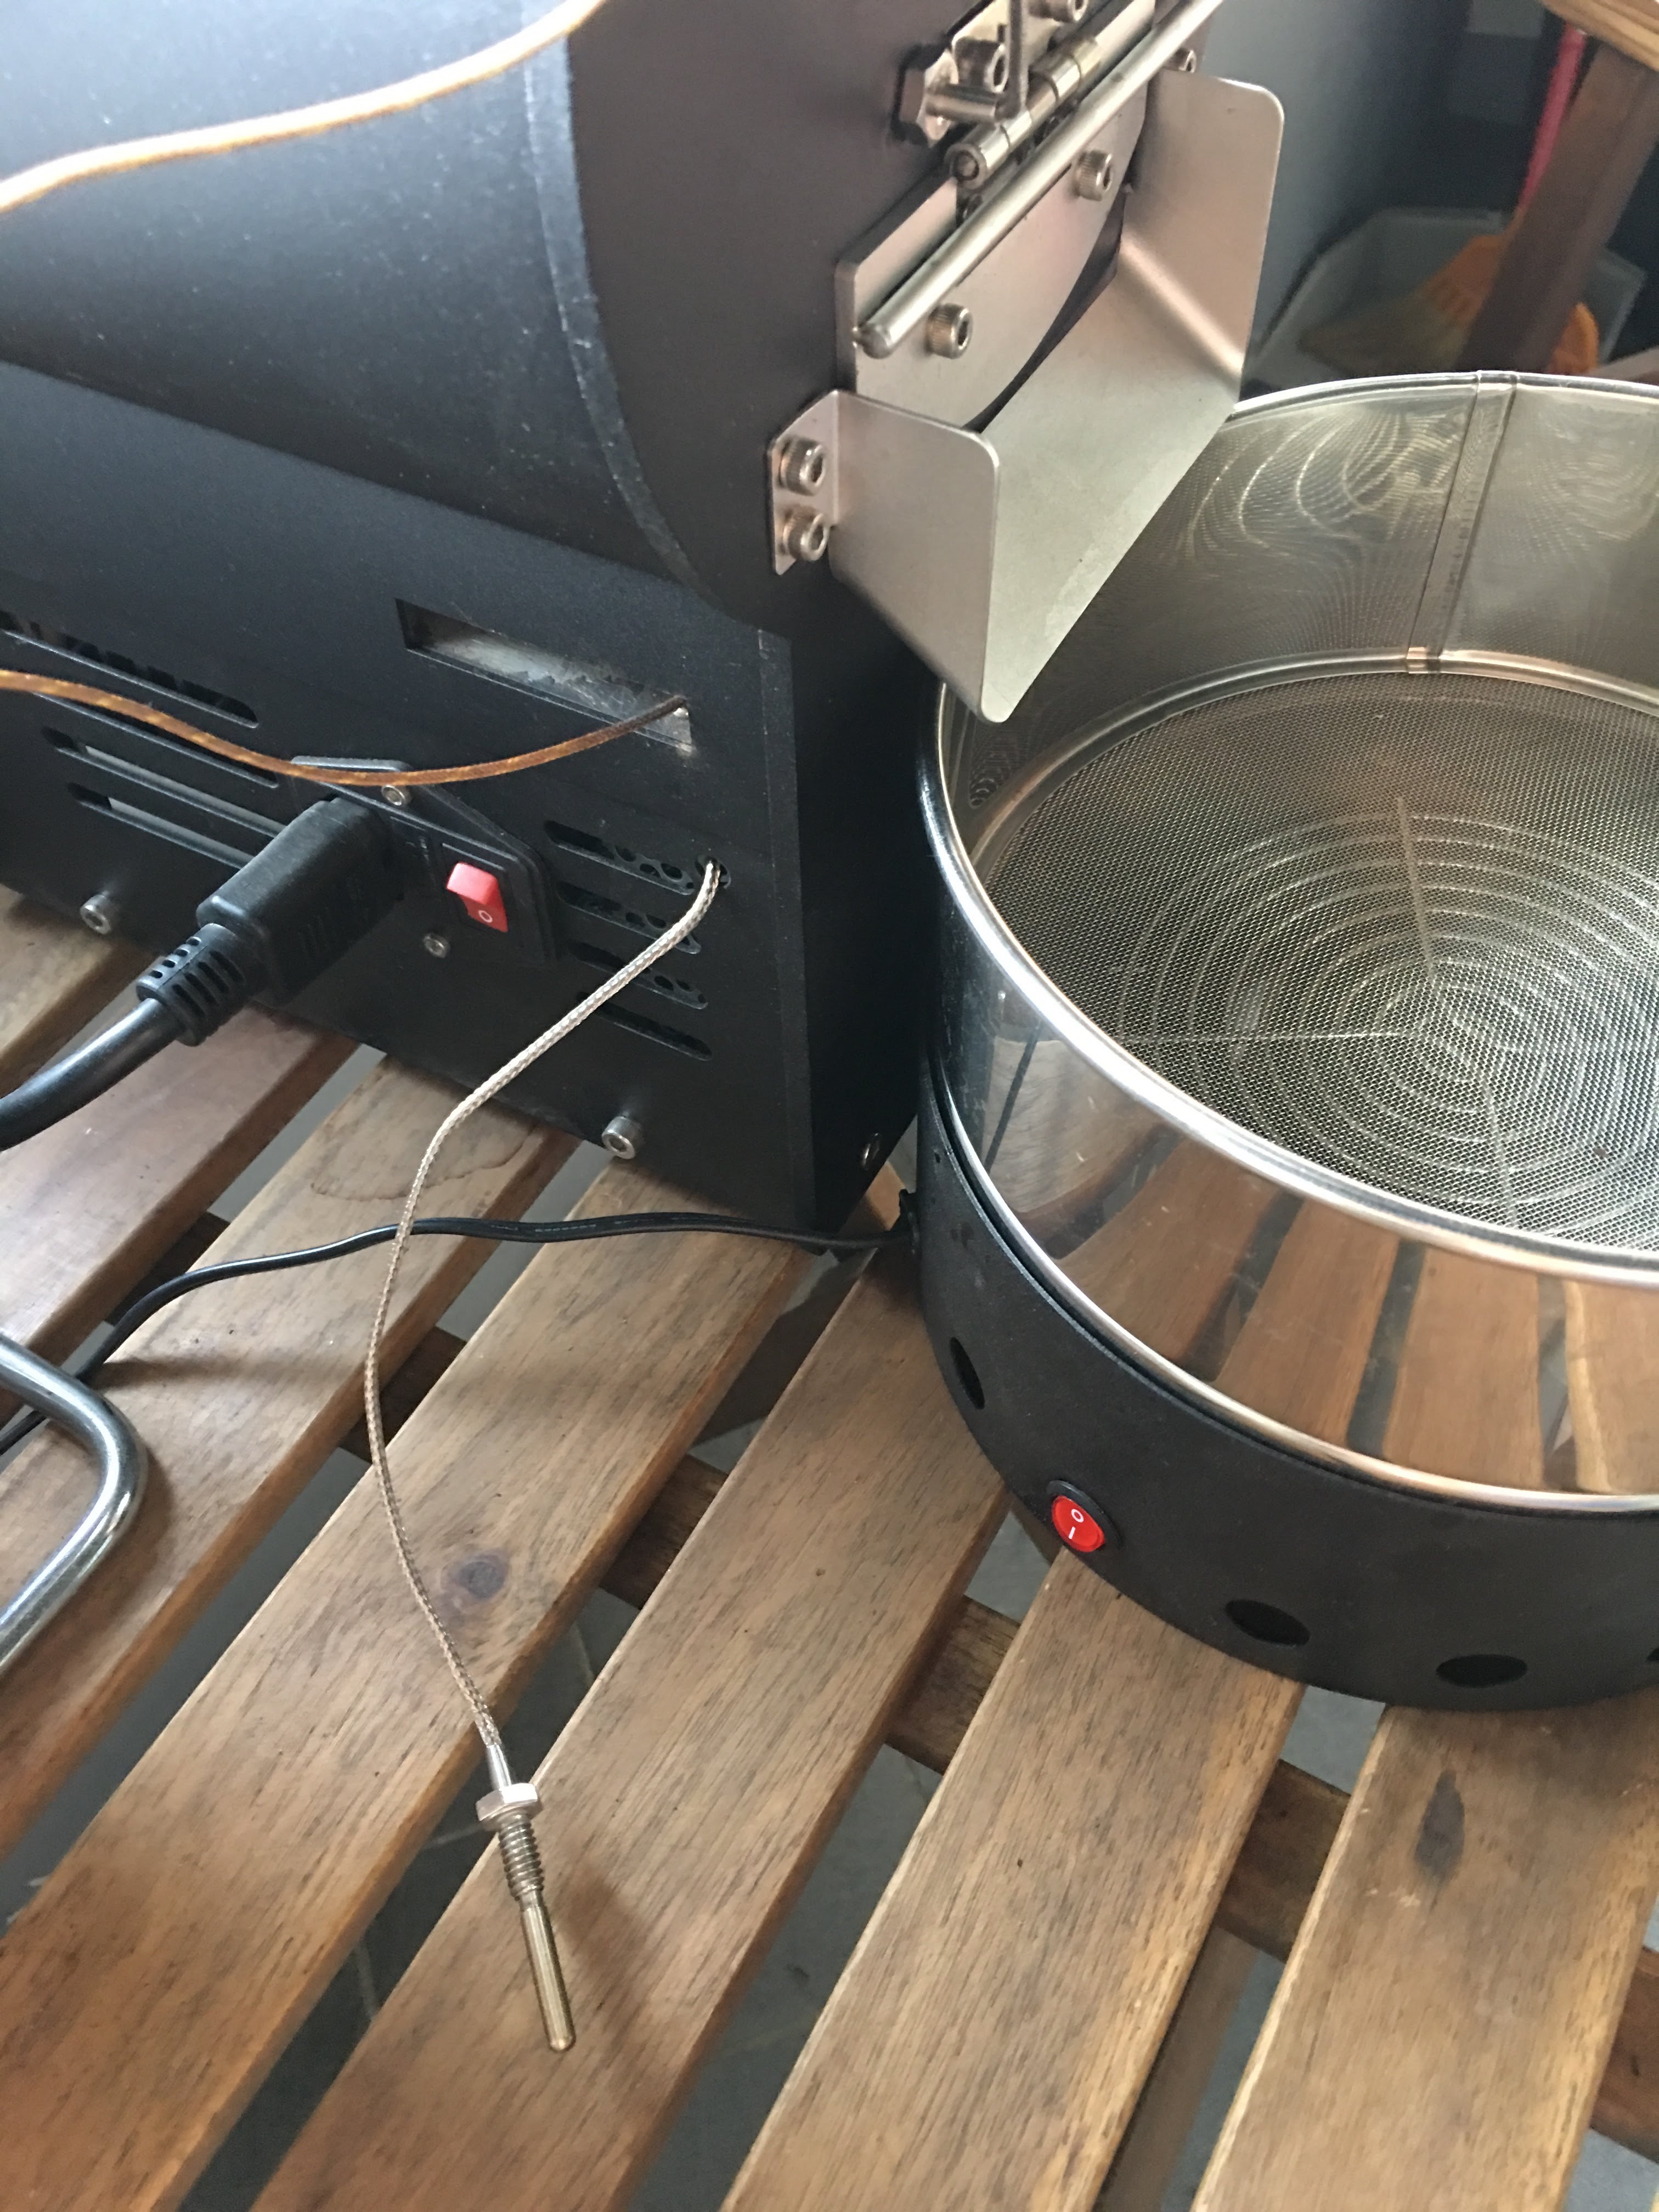
Mercury簡易改裝

有同好有一樣的困擾 - 如何使用自己的data logging軟體,因此寫了這篇來分享我的簡易改裝。 Background 雲豆子 MERCURY roaster 烘豆機的設計是使用自行開發的軟體,來:1. 操控風門/火力; 2. data logging/自動烘焙。 ...