新竹市林森路...在『真源香』麵包店旁小巷子裡,進去後左轉就到。
http://funp.com/blogs/info.php?blog_id=2114&star=1&page=2#p=214761
http://www.ipeen.com.tw/shop/shop.php?id=45353
http://hsl5013.pixnet.net/blog/post/4355673
http://lionbeauty.pixnet.net/blog/post/3300903
http://www.wretch.cc/blog/Morgan2/15861749
google search
View Larger Map


2009/01/06
Network Time (NTP) service in CentOS
Synchronize the clocks is standard now-da-day. If you don't have NTP for some reason, here's how you set it up in CentOS.
First Install the NTP Package on your server as root.
Next set it to start automatically on a reboot
Tell it which NTP server it should update it’s time from
Verify that the Time & Date are correct
Finally start the service
First Install the NTP Package on your server as root.
# yum install ntp

Loading “fastestmirror” plugin

Loading mirror speeds from cached hostfile

* base: mirror.steadfast.net

* updates: mirrors.liquidweb.com

* addons: pubmirrors.reflected.net

* extras: pubmirrors.reflected.net

Setting up Install Process

Parsing package install arguments

Resolving Dependencies

–> Running transaction check

—> Package ntp.i386 0:4.2.2p1-8.el5.centos.1 set to be updated

–> Finished Dependency Resolution


Dependencies Resolved


=================================================================

Package                 Arch       Version          Repository        Size

=================================================================

Installing:

ntp                     i386       4.2.2p1-8.el5.centos.1  base              1.3 M


Transaction Summary

=================================================================

Install      1 Package(s)

Update       0 Package(s)

Remove       0 Package(s)


Total download size: 1.3 M

Is this ok [y/N]: y

Downloading Packages:

(1/1): ntp-4.2.2p1-8.el5. 100% |=========================| 1.3 MB    00:19

Running rpm_check_debug

Running Transaction Test

Finished Transaction Test

Transaction Test Succeeded

Running Transaction

Installing: ntp                          ######################### [1/1]


Installed: ntp.i386 0:4.2.2p1-8.el5.centos.1

Complete!
Next set it to start automatically on a reboot
# chkconfig ntpd on
Tell it which NTP server it should update it’s time from
# ntpdate pool.ntp.org

4 Aug 12:32:43 ntpdate[9540]: step time server 64.202.112.75 offset 1256.453048 sec
Verify that the Time & Date are correct
# date

Mon Aug  4 12:33:04 EDT 2008
Finally start the service
# service ntpd start

Starting ntpd:                                             [  OK  ]
2008/12/29
2008/12/22
Beryl - change what u think about Linux UI
Beryl is an OpenGL accelerated desktop that seeks to provide a free, open source desktop experience to the community that reflects the wishes of the users. Above all else, the project seeks to listen to and respond to the requests of the user base...
Windows Vista (Aero) Vs Linux Ubuntu (Beryl) - The funniest videos are a click away
Installing Beryl On A CentOS 5.0 Desktop: http://www.howtoforge.com/beryl_centos5.0
Windows Vista (Aero) Vs Linux Ubuntu (Beryl) - The funniest videos are a click away
Installing Beryl On A CentOS 5.0 Desktop: http://www.howtoforge.com/beryl_centos5.0
Mount new disk on CentOS
1. Check what is the new hard disk device name with "fdisk -l", it should be something like /dev/sda. You can easily identify which is the new drive by running "mount" and finding the drive that exists in "fdisk -l" but is not mounted.
2. Create a partition on the new drive, (the sample code below assume the disk is /dev/sdd)
3. Create a filesystem on the new partition, we use ext3 file system.
4. Create a directory named whatever you like, this will be where you mount the new disk
5. Edit /etc/fstab an add a record for the new drive at the end of the file. This will make the server mount the drive automatically after reboot. Mount options (like noatime and nodiratime) can be added as a comma separated list of values after "defaults": "defaults,noatime,nodiratime"
Linux records information about when files were created and last modified as well as when it was last accessed. There is a cost associated with recording the last access time. Linux has a special mount option for file systems called
Mount the drive. "mount -a" just mounts everything according to /etc/fstab.
Reboot to make sure it starts ok with the new drive mounted.
mount; fdisk -l2. Create a partition on the new drive, (the sample code below assume the disk is /dev/sdd)
fdisk /dev/sdd3. Create a filesystem on the new partition, we use ext3 file system.
mkfs.ext3 /dev/sdd4. Create a directory named whatever you like, this will be where you mount the new disk
mkdir /backup5. Edit /etc/fstab an add a record for the new drive at the end of the file. This will make the server mount the drive automatically after reboot. Mount options (like noatime and nodiratime) can be added as a comma separated list of values after "defaults": "defaults,noatime,nodiratime"
echo "/dev/sdd /backup ext3 defaults 0 0" >> /etc/fstabLinux records information about when files were created and last modified as well as when it was last accessed. There is a cost associated with recording the last access time. Linux has a special mount option for file systems called
noatime that can be added to each line that addresses one file system in the /etc/fstab file. If a file system has been mounted with this option, reading accesses to the file system will no longer result in an update to the atime information associated with the file. The importance of the noatime setting is that it eliminates the need by the system to make writes to the file system for files which are simply being read. Since writes can be somewhat expensive, this can result in measurable performance gains.nodiratime does the same thing but for directories. I know the beginners guide says to use both mount options on file systems, but from others I've talked to and places I've read it seems noatime implies nodiratime because noatime is a superset and nodiratime is a subset used specifically to disable it for directories but leave it on for files, and when you use noatime, it does it for everything, files/dirsecho "/dev/sdd /backup ext3 rw,noatime,nodiratime 0 0" >> /etc/fstabMount the drive. "mount -a" just mounts everything according to /etc/fstab.
mount -aReboot to make sure it starts ok with the new drive mounted.
2008/12/20
MonoDevelop 1.91 on Cent OS
Last post we installed Mono 2.x run time. Here we will get MonoDevelop install on GNOME, for development environment.
First, here are the related software. You should have most of them when installing the run-time:
Now, we need make the required environment variables while we're building the IDE, as well in its run-time. So let's make it into shellscript called env.sh (or whatever you like it).
Now we are ready to build MonoDevelop from tarball source. The following packages are the minimum software needed - we will build them one-by-one:
gtk-sharp
Mono.Addins
Monodoc
Mono Tools
MonoDevelop
You should now able to start up MonoDevelop in GNOME, enjoy.
First, here are the related software. You should have most of them when installing the run-time:
yum install glib2-devel pango-devel gtk2-devel glade2-devel libgnome-devel \

gnome-desktop-devel gnome-panel-devel libgnomeprintui22-devel  \

gtksourceview-devel ruby ruby-rdoc gtkhtml38-devel wget
Now, we need make the required environment variables while we're building the IDE, as well in its run-time. So let's make it into shellscript called env.sh (or whatever you like it).
echo 'PATH="/opt/mono/bin:$PATH"' /opt/mono/env.sh

echo 'export PKG_CONFIG_PATH=/opt/mono/lib/pkgconfig' >> /opt/mono/env.sh

echo 'export LD_LIBRARY_PATH=/opt/mono/lib' >> /opt/mono/env.sh

echo 'source /opt/mono/env.sh' >> /opt/mono/env.sh


chmod +x /opt/mono/env.sh
Now we are ready to build MonoDevelop from tarball source. The following packages are the minimum software needed - we will build them one-by-one:
gtk-sharp
cd ~/

wget http://ftp.novell.com/pub/mono/sources/gtk-sharp212/gtk-sharp-2.12.5.tar.bz2

tar xjf gtk-sharp-2.12.5.tar.bz2

cd ./gtk-sharp-2.12.5

./configure --prefix=/opt/mono

make;make install
Mono.Addins
wget http://ftp.novell.com/pub/mono/sources/mono-addins/mono-addins-0.3.1.tar.bz2

cd ./mono-addins-0.3.1

./configure --prefix=/opt/mono

make;make install
Monodoc
wget http://ftp.novell.com/pub/mono/sources/monodoc/monodoc-2.0.zip

unzip monodoc-2.0.zip

cd ./monodoc-2.0

./configure --prefix=/opt/mono

make;make install
Mono Tools
wget http://ftp.novell.com/pub/mono/sources/mono-tools/mono-tools-2.0.tar.bz2

tar jfxv mono-tools-2.0.tar.bz2

cd ./mono-tools-2.0

./configure --prefix=/opt/mono

make;make install
MonoDevelop
wget http://ftp.novell.com/pub/mono/sources/monodevelop/monodevelop-1.9.1.tar.bz2

tar jfxv monodevelop-1.9.1.tar.bz2

cd ./monodevelop-1.9.1

./configure --prefix=/opt/mono

make;make install
You should now able to start up MonoDevelop in GNOME, enjoy.
訂閱:
文章 (Atom)
Mercury簡易改裝
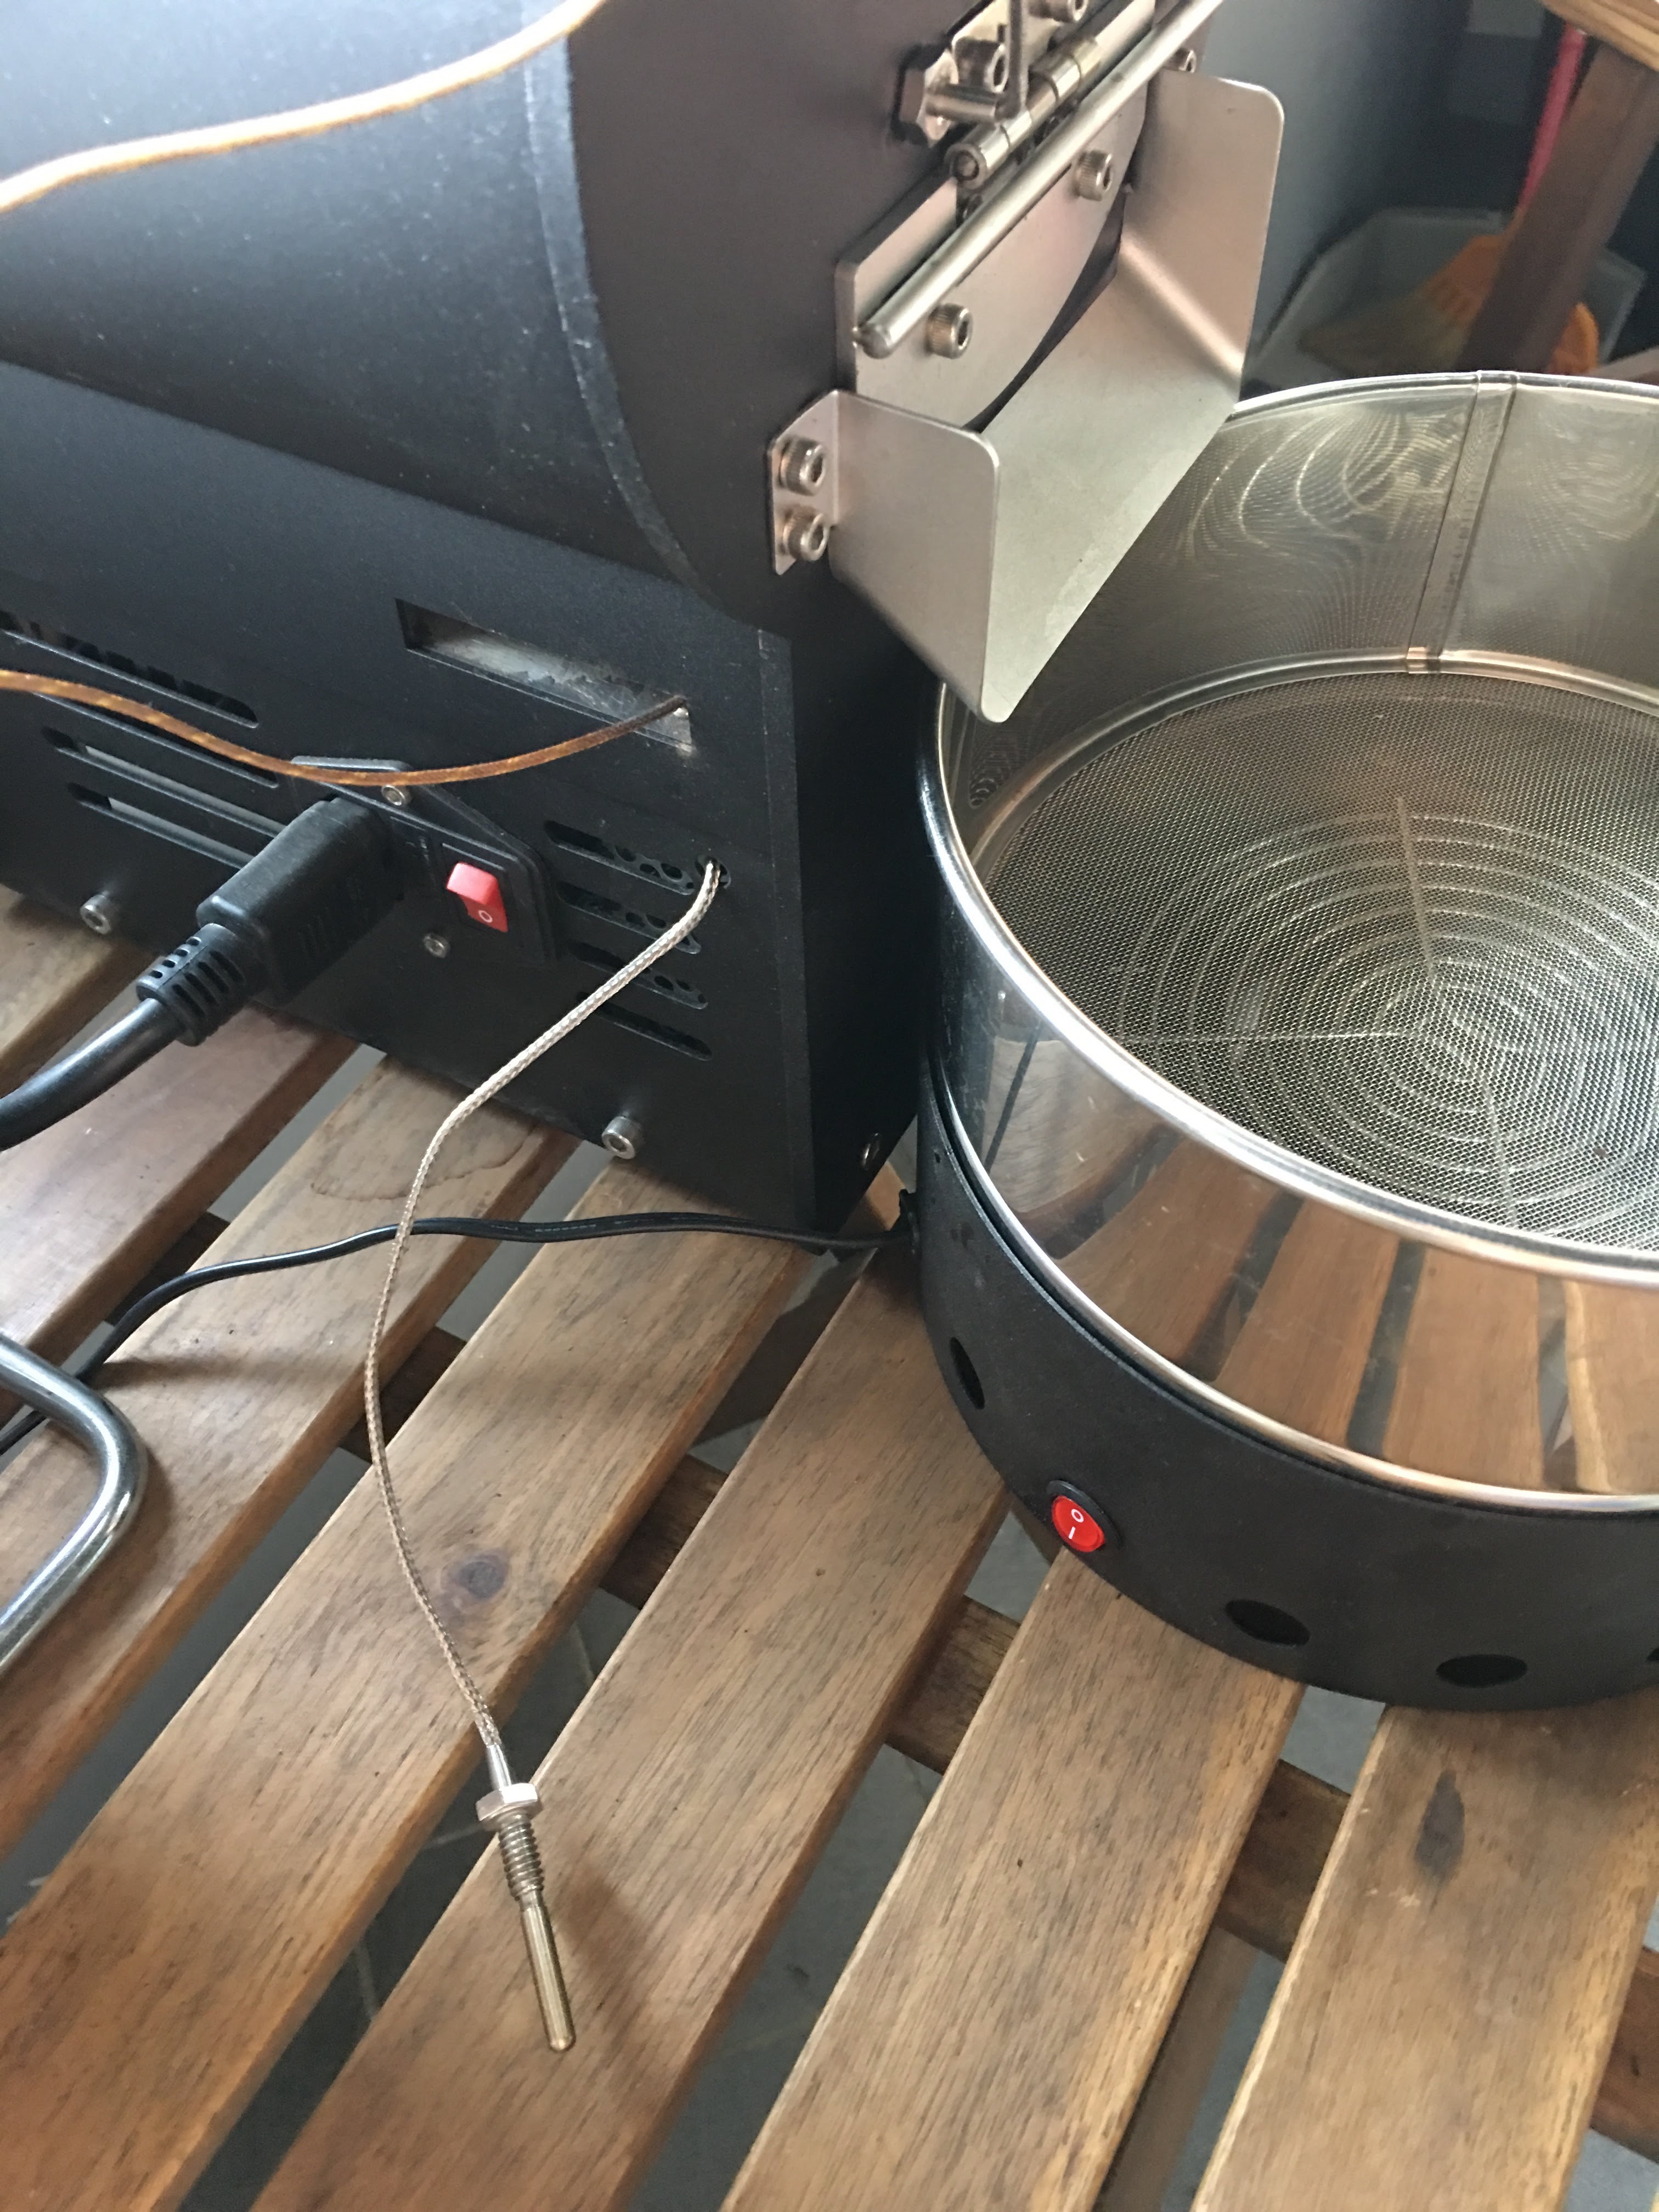
有同好有一樣的困擾 - 如何使用自己的data logging軟體,因此寫了這篇來分享我的簡易改裝。 Background 雲豆子 MERCURY roaster 烘豆機的設計是使用自行開發的軟體,來:1. 操控風門/火力; 2. data logging/自動烘焙。 ...
-
有同好有一樣的困擾 - 如何使用自己的data logging軟體,因此寫了這篇來分享我的簡易改裝。 Background 雲豆子 MERCURY roaster 烘豆機的設計是使用自行開發的軟體,來:1. 操控風門/火力; 2. data logging/自動烘焙。 ...
-
最近這一整個月都在玩大風大火的烘焙。一些心得記錄一下: 2017-09-22 烘豆機: 雲豆子 MERCURY roaster 第1鍋 果丁丁 1 (生豆量:200g,熟豆:171.8g,失重:14.1%) 原本計畫:入豆溫:170 風門一路不變 (MERCURY...
-
 等了非常久的 Mercury 烘豆機 終於到貨了。找了水電來接220V就迫不及待開烘了。 Overall 這是一台CP值非常高的機器,可以說是目前(2017年5月)最接近貴森森營業機種的縮小版。 一應鉅全:有下豆槽,小型化的的風門,銀皮收集桶,跟風管。 ...

