2016/07/27

Phidgets 1048 on OSX

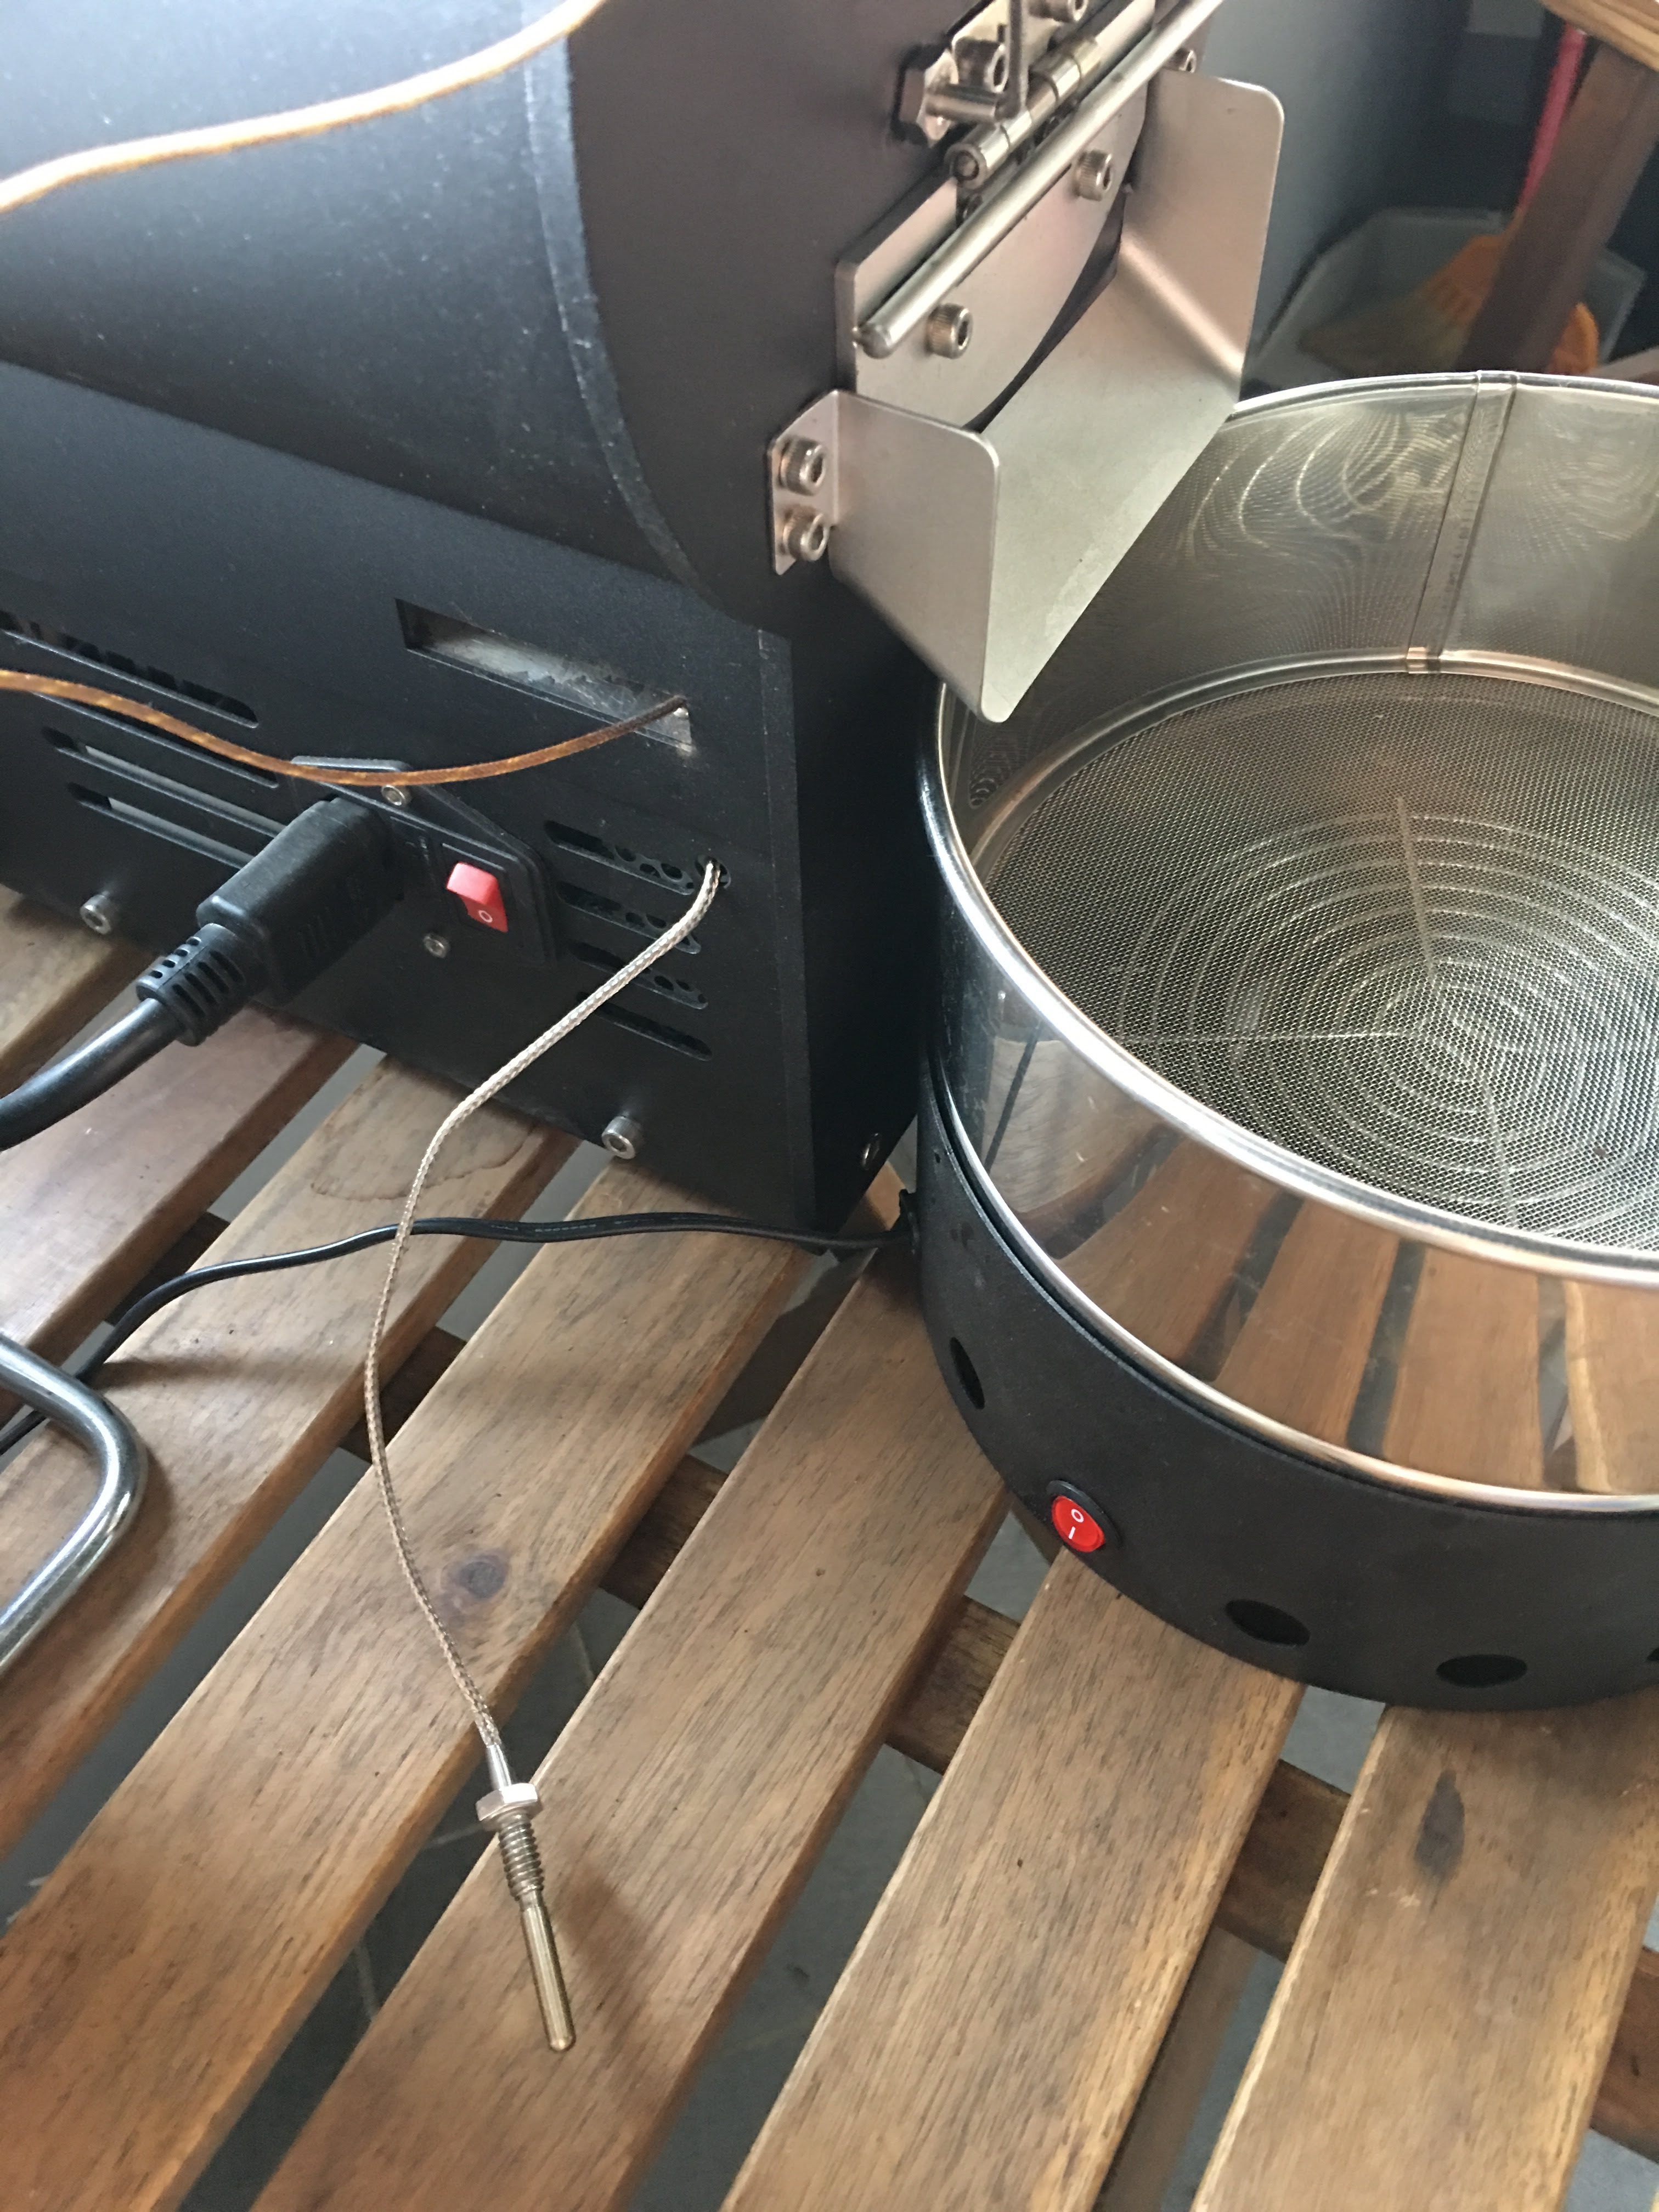
I got the Phidgets 1048 temperature sensor to hookup Roastmaster app and Quest m3s roaster.

The plan is exactly like Raintroy suggested. You would install the old OSX driver (2.1.7.20140227) on a mac. The board is powered by the computer via USB.  The iPad is connected to the same wifi as the mac.  From there, Roastmaster app can read from the sensor via web service.

Using a 2 years old driver doesn't sound to exciting to me.  And yes, it bring trouble to the setup.  As you complete the driver install, the testing program would show Attached: Nothing.

To fix the bug, you need to make sure:

1. Install latest phidgets driver (and than override it by install the old driver required by Roastmaster)
2. Make sure Java using mac's original:

$ java -version
java version "1.6.0_65"
Java(TM) SE Runtime Environment (build 1.6.0_65-b14-468-11M4833)
Java HotSpot(TM) 64-Bit Server VM (build 20.65-b04-468, mixed mode)

Both Apple and JDK have the instruction:

Hopefully the info helps if you have the same problem.

Other references:
Phidgets OSX doc:
http://www.phidgets.com/docs/OS_-_OS_X#Quick_Downloads

2016/05/20

Aeropress 愛樂壓 創辦人演講


重點:
  1. the longer you brew, the bitter it get. 泡越久就越苦。
  2. 水溫:中焙或深焙:175℉ (80℃);淺焙:185℉ (85℃)。
  3. 咖啡粉刻度:粗細依個人喜好(可細到expresso,或一般手沖刻度),建議espresso刻度或fine-drip。
  4. 水量:兩匙咖咖,沖到刻度二。
  5. 攪拌:count to 20,大約10秒。
  6. 不建議水加滿,會太苦。
  7. aeropress咖啡冠軍得主大部分用正向沖法,不用inverted method
  8. 他是喝深焙的。
最後來看一下2014 Aeropress冠軍:

2013/10/24

SVN 1.8 on OSX 10.9 (Mavericks)

This post is about how to compile the latest SVN source (1.8.3) on OSX Mavericks (OSX 10.9).

References

Sam's Updating to SVN 1.8 for Mac OSX 10.8. This is about building in OSX 10.8.

Requirement

  1. Xcode command line tool: can be download at Apple's dev center or install command line tool without Xcode.
  2. Setup the Tool chain: sudo ln -s /Applications/Xcode.app/Contents/Developer/Toolchains/XcodeDefault.xctoolchain/ /Applications/Xcode.app/Contents/Developer/Toolchains/OSX10.9.xctoolchain The key is to link the toolchain to reflect new version # of Maverick, which is 10.9.
  3. The SVN source: can be download form Apache SVN project.
    Here's straight way in command: cd ~/Downloads/ curl -o subversion-1.8.3.tar.gz http://archive.apache.org/dist/subversion/subversion-1.8.3.tar.gz tar -xvf subversion-1.8.3.tar.gz

Build and Install SVN

Build serf

First we will need to build serf, included in the subversion package. cd ~/Downloads/subversion-1.8.3 sh get-deps.sh serf cd serf/ ./configure make sudo make install

Build SVN

Go back up to the SVN source root, and build it using serf. Depend on your hardware, it might takes awhile. If you need a coffee, this is good time to do so once you start the make. cd .. ./configure --prefix=/usr/local --with-serf=/usr/local/serf make sudo make install

Wrap it up

Now you've the new SVN 1.8.3 installed at /usr/local/bin. Make sure your path includes it. From there you should able to: svn --version And here you go:
svn, version 1.8.3 (r1516576)
   compiled Oct 24 2013, 02:38:35 on x86_64-apple-darwin13.0.0

Copyright (C) 2013 The Apache Software Foundation.
This software consists of contributions made by many people;
see the NOTICE file for more information.
Subversion is open source software, see http://subversion.apache.org/

The following repository access (RA) modules are available:

* ra_svn : Module for accessing a repository using the svn network protocol.
  - with Cyrus SASL authentication
  - handles 'svn' scheme
* ra_local : Module for accessing a repository on local disk.
  - handles 'file' scheme
* ra_serf : Module for accessing a repository via WebDAV protocol using serf.
  - using serf 1.2.1
  - handles 'http' scheme
  - handles 'https' scheme

2011/08/26

Undelete in Linux (ext3 file system)

I accidentally wide out my 200 and some gigabytes of mp3 (again) by rsync'ing between bad disk. Luckily I found this undelete program and recover most of them.

http://extundelete.sourceforge.net

Also check out this great article if you're techie: http://carlo17.home.xs4all.nl/howto/undelete_ext3.html

Install BootCamp 4.0

If you upgrade to Lion from Snow Leopard + Win7 bootcamp, you might find that you can't download new bootcamp 4.0 from Bootcamp Assistant. The way I go around it is by downloading it from Apple's CDN:
  1. Download Bootcamp 4.0 Drivers, here's a link on some Apple CDN for the .pkg file containing the drivers (603MB): http://bit.fosk.it/bootcamp40
  2. Open this file with 7Zip in Windows, and go through a few layers to extract BootCampESD.pkg\Payload\Payload~\.\Library\Application Support\BootCamp\WindowsSupport.dmg\0.Apple_ISO
  3. Rename the file from 0.Apple_ISO to BootCamp4.iso
  4. Extract the iso with 7Zip to a folder.
  5. Open command prompt and navigate to the extracted folder, for example:
    E:
    cd WindowsSupport\Drivers\Apple
  6. From the prompt in that folder, run msiexec /i BootCamp64.msi

2011/05/12

Generating Video Thumbnails With FFMPEG

Check out flowplayer's - http://flowplayer.org/tutorials/generating-thumbs.html

In short,

ffmpeg -i [video_file] -f image2 -vframes 1 [output_image].jpg


For example,

ffmpeg -ss 12 -i flowplayer.mov -f image2 -vframes 1 flowplayer-12.jpg

Finding video/ image file info

In ffmpeg, you can determine video or image file info:


ffmpeg -i my_video_filename


Another option is exiftool tool.

1. Install on RHEL
yum install perl-Image-ExifTool.noarch
**you need to have rpmforge repository installed.

2. Use it
exiftool my_video_file

Mercury簡易改裝

有同好有一樣的困擾 - 如何使用自己的data logging軟體,因此寫了這篇來分享我的簡易改裝。 Background 雲豆子 MERCURY roaster 烘豆機的設計是使用自行開發的軟體,來:1. 操控風門/火力; 2. data logging/自動烘焙。 ...