is available over here:
http://code.google.com/apis/analytics/docs/gaTrackingOverview.html
2008/05/07


2008/05/06
trac-10.4 繁體中文版
trac-10.4-zh_TW Traditional Chinese translation
trac-10.4 繁體中文版
Modified from ZoomQuiet version, this version provides translation for Traditional Chinese.
To download: http://trac-hacks.org/wiki/TraditionalChineseTranslation
trac-10.4 繁體中文版
Modified from ZoomQuiet version, this version provides translation for Traditional Chinese.
To download: http://trac-hacks.org/wiki/TraditionalChineseTranslation
2008/05/04
Setup Subversion and Trac on CentOS 5
Recently I set up a virtual server to use as a development machine. It runs on CentOS 5 and hosts several Subversion repositories with associated Trac projects.
There are many guides and plenty of help on the net to help you setup such a system. The easiest way is to YUM it.
But that's not it, you need to do the following post-installs.
Initialize a Trac project for your new repository
From there you will enter the trac-admin commands. Use the defaults if not sure.
File permissions
If you don't like the location, edit the /etc/httpd/conf.d/trac.conf.
Subversion
Add the following directive:
Add a repository user
Create the Access Control List for the SVN Repository
Trac Config
Edit this line:
Give admin permissions to the Trac user you just created:
Where username represents the trac user you just added in htpasswd.
Restart Apache
You should now have http://server/svn/ and the Trac system at http://server/trac/ associated with the repository.
What's Next? check out http://trac-hacks.org
There are many guides and plenty of help on the net to help you setup such a system. The easiest way is to YUM it.
yum --enablerepo=rpmforge trac
But that's not it, you need to do the following post-installs.
Initialize a Trac project for your new repository
trac-admin /var/trac/project_name initenv
From there you will enter the trac-admin commands. Use the defaults if not sure.
File permissions
chown -R apache.apache /srv/svn/project_name

chown -R apache.apache /var/trac/project_name
If you don't like the location, edit the /etc/httpd/conf.d/trac.conf.
Subversion
vim /etc/httpd/conf.d/subversion.confAdd the following directive:
<Location /svn>

DAV svn

SVNParentPath /srv/svn

AuthType Basic

AuthName "My SVN Repository"

AuthzSVNAccessFile /srv/svn/svn-acl-conf

AuthUserFile /srv/svn/.htpasswd

Require valid-user

</Location>
Add a repository user
touch /srv/svn/.htpasswd

htpasswd -m /srv/svn/.htpasswd username
Create the Access Control List for the SVN Repository
vim /srv/svn/svn-acl-confAdd the following directives:
[project_name:/]
username =  rw
Where username represents the username of the repository user you created earlier.
Trac Config
vi /etc/httpd/conf.d/trac.conf
Edit this line:
AuthUserFile /srv/svn/.htpasswd
Give admin permissions to the Trac user you just created:
trac-admin /srv/trac/project_name permission add username TRAC_ADMINWhere username represents the trac user you just added in htpasswd.
Restart Apache
service httpd restartYou should now have http://server/svn/
Resources
- The last part of CentOS HowTos: Subversion will give you a quick introduction on how to use SVN.
- Subversion setup guides: here and here
- Trac setup guides: here and here.
- Setting up CentOS 5.0
2008/04/28
Samba Setup on CentOS 5
I have an existing user "amy" on my new installation of CentOS v5.1. I want a directory located at "/home/fileServer" to be shared through samba as "fileServer", that can be mounted by amy in Windows XP and Vista.
Here's the steps:
1. Installed samba server
yum install samba
2. Created directory to be shared
# mkdir /home/fileServer
# chown root:root /home/fileServer
# chmod 770 /home/fileServer
3. Edit samba configuration file
# cd /etc/samba
# mv smb.conf smb.conf.sample
# vi smb.conf
[global]
workgroup = MYWORKGROUP
[fileServer]
comment = file server
path = /home/fileServer
writable = yes
create mask = 0770
directory mask = 0770
4. Edit samba user accounts
# smbpasswd -a root
# smbpasswd -a amy
5. Update smbusers file
# vi smbusers
root = administrator admin
amy = amy
6. Started smb daemon
# service smb restart
7. Test
In Windows XP, typed \\, and entered amy as user with the password. You should see the share defined in smb.conf.
Here's the steps:
1. Installed samba server
yum install samba
2. Created directory to be shared
# mkdir /home/fileServer
# chown root:root /home/fileServer
# chmod 770 /home/fileServer
3. Edit samba configuration file
# cd /etc/samba
# mv smb.conf smb.conf.sample
# vi smb.conf
[global]
workgroup = MYWORKGROUP
[fileServer]
comment = file server
path = /home/fileServer
writable = yes
create mask = 0770
directory mask = 0770
4. Edit samba user accounts
# smbpasswd -a root
# smbpasswd -a amy
5. Update smbusers file
# vi smbusers
root = administrator admin
amy = amy
6. Started smb daemon
# service smb restart
7. Test
In Windows XP, typed \\
2008/04/19
Tuning the Linux kernel for better network throughput
If your linux server needs to have better network throughput, try this out.
From /etc/sysctl.conf:
The second command enables TCP SYN cookies, which is often enabled by default and is extremely effective in preventing conditions such as SYN floods that can drain the server of resources used to process incoming connections.
The last four options increase the TCP send and receive buffers, which allow an application to move its data out faster so as to serve other requests. This also improves the client's ability to send data to the server when it gets busy.
To make the change immediately:
From /etc/sysctl.conf:
net.ipv4.tcp_window_scaling = 1
net.ipv4.tcp_syncookies = 1
net.ipv4.tcp_rmem = 4096 87380 16777216
net.ipv4.tcp_wmem = 4096 65536 16777216
net.core.rmem_max = 16777216
net.core.wmem_max = 16777216
The first command enables TCP window scaling, which allows clients to download data at a higher rate by enabling extra bits in TCP packets that are used to increase the window size.net.ipv4.tcp_syncookies = 1
net.ipv4.tcp_rmem = 4096 87380 16777216
net.ipv4.tcp_wmem = 4096 65536 16777216
net.core.rmem_max = 16777216
net.core.wmem_max = 16777216
The second command enables TCP SYN cookies, which is often enabled by default and is extremely effective in preventing conditions such as SYN floods that can drain the server of resources used to process incoming connections.
The last four options increase the TCP send and receive buffers, which allow an application to move its data out faster so as to serve other requests. This also improves the client's ability to send data to the server when it gets busy.
To make the change immediately:
sysctl -p /etc/sysctl.conf
To see all of the currently configured sysctl parameters:sysctl -a
You can also use sysctl to make the change:sysctl -w net.ipv4.tcp_window_scaling=1
This can be useful for testing the effectiveness of certain settings without committing them to being defaults.
4GB RAM on Vista
All 32-bit Operating Systems can only physically address 4 GB of RAM, due to the math involved (232 = 4,294,967,296). Depending on your hardware, Vista may only see 3GB or 3.5GB of the total RAM installed, because there are some devices that are memory mapped. The most common hardware of this type of device is a video card, which can use up to 512MB of memory for mapping.
You can tweak Vista's core to add another 4-bits of addressing capability, but you must have a 64-bit capable CPU (pretty much any processor made within the past two years like Core 2 Duo or Athlon 64). Even though the math works out to address way more than 4GB (236 = 68,719,476,736), the operating system still has a cap (Windows Server can address anywhere from 8GB to 128GB depending on the flavor).
To force this new addressing method, you have to tell Vista to boot using this new parameter. Vista no longer uses a BOOT.INI file as previous versions of Windows did, so you must modify the boot file using a built-in Vista tool called BCDedit.
To turn on PAE, in Command prompt, type BCDedit /set PAE forceenable.
This PAE flag (Physical Address Extension) tells the Vista core to use an additional 4 bits of addressing, which in theory allows the OS to see all of the RAM you have available. We're not out of the woods yet, because once you reboot you may find that Vista still doesn't see all of your RAM.
Using PAE might make Vista to run slower. Vista runs slower with PAE because of the new page-translation system being used. By default Vista uses 2 cycles to address memory, and will use 3 when Physicall Address Extension is enabled. PAE also supports advanced procesor features such as Data Execution Prevention (no execute), Non-Uniform Memory Architecture (NUMA), and hot-add memory. PAE is automatically disabled when DEP (Data Execution Prevention) is disabled, so you must force PAE when DEP is disabled by running BCDedit:
To disable DEP: BCDedit /set nx AlwaysOff
PAE force on: BCDedit /set pae ForceEnable
You can turn PAE off again by typing BCDedit /set PAE forcedisable or BCDedit /set PAE default.
2008/04/17
Inspectd:用真實股市資料做的股票交易遊戲
Find this from Read for Joy's blog - Inspectd:用真實股市資料做的股票交易遊戲
在《蘋果橘子經濟學》(Freakonomics,簡體版:魔鬼經濟學)一書作者Steven D. Levitt、Stephen J.Dubner的部落格Place Your Stock Bets Here看到了Inspectd網站的簡介——與股市有關,又容易讓人欲罷不能的遊戲。(不知道這網站會不會成為技術分析信徒的修煉處或試劍石?)
根據Inspectd網站的介紹,所有的股價走勢圖都是真實的股票歷史資料,然後就像玩大富翁一樣,一開始提供一個(Account Value)十萬美金的帳戶讓你玩,如果想重新從十萬美金開始,按下reset就清除所有交易紀錄....
Learn from play is cool idea. Check it out yourself - Inspectd.com
在《蘋果橘子經濟學》(Freakonomics,簡體版:魔鬼經濟學)一書作者Steven D. Levitt、Stephen J.Dubner的部落格Place Your Stock Bets Here看到了Inspectd網站的簡介——與股市有關,又容易讓人欲罷不能的遊戲。(不知道這網站會不會成為技術分析信徒的修煉處或試劍石?)
根據Inspectd網站的介紹,所有的股價走勢圖都是真實的股票歷史資料,然後就像玩大富翁一樣,一開始提供一個(Account Value)十萬美金的帳戶讓你玩,如果想重新從十萬美金開始,按下reset就清除所有交易紀錄....
Learn from play is cool idea. Check it out yourself - Inspectd.com
訂閱:
文章 (Atom)
Mercury簡易改裝
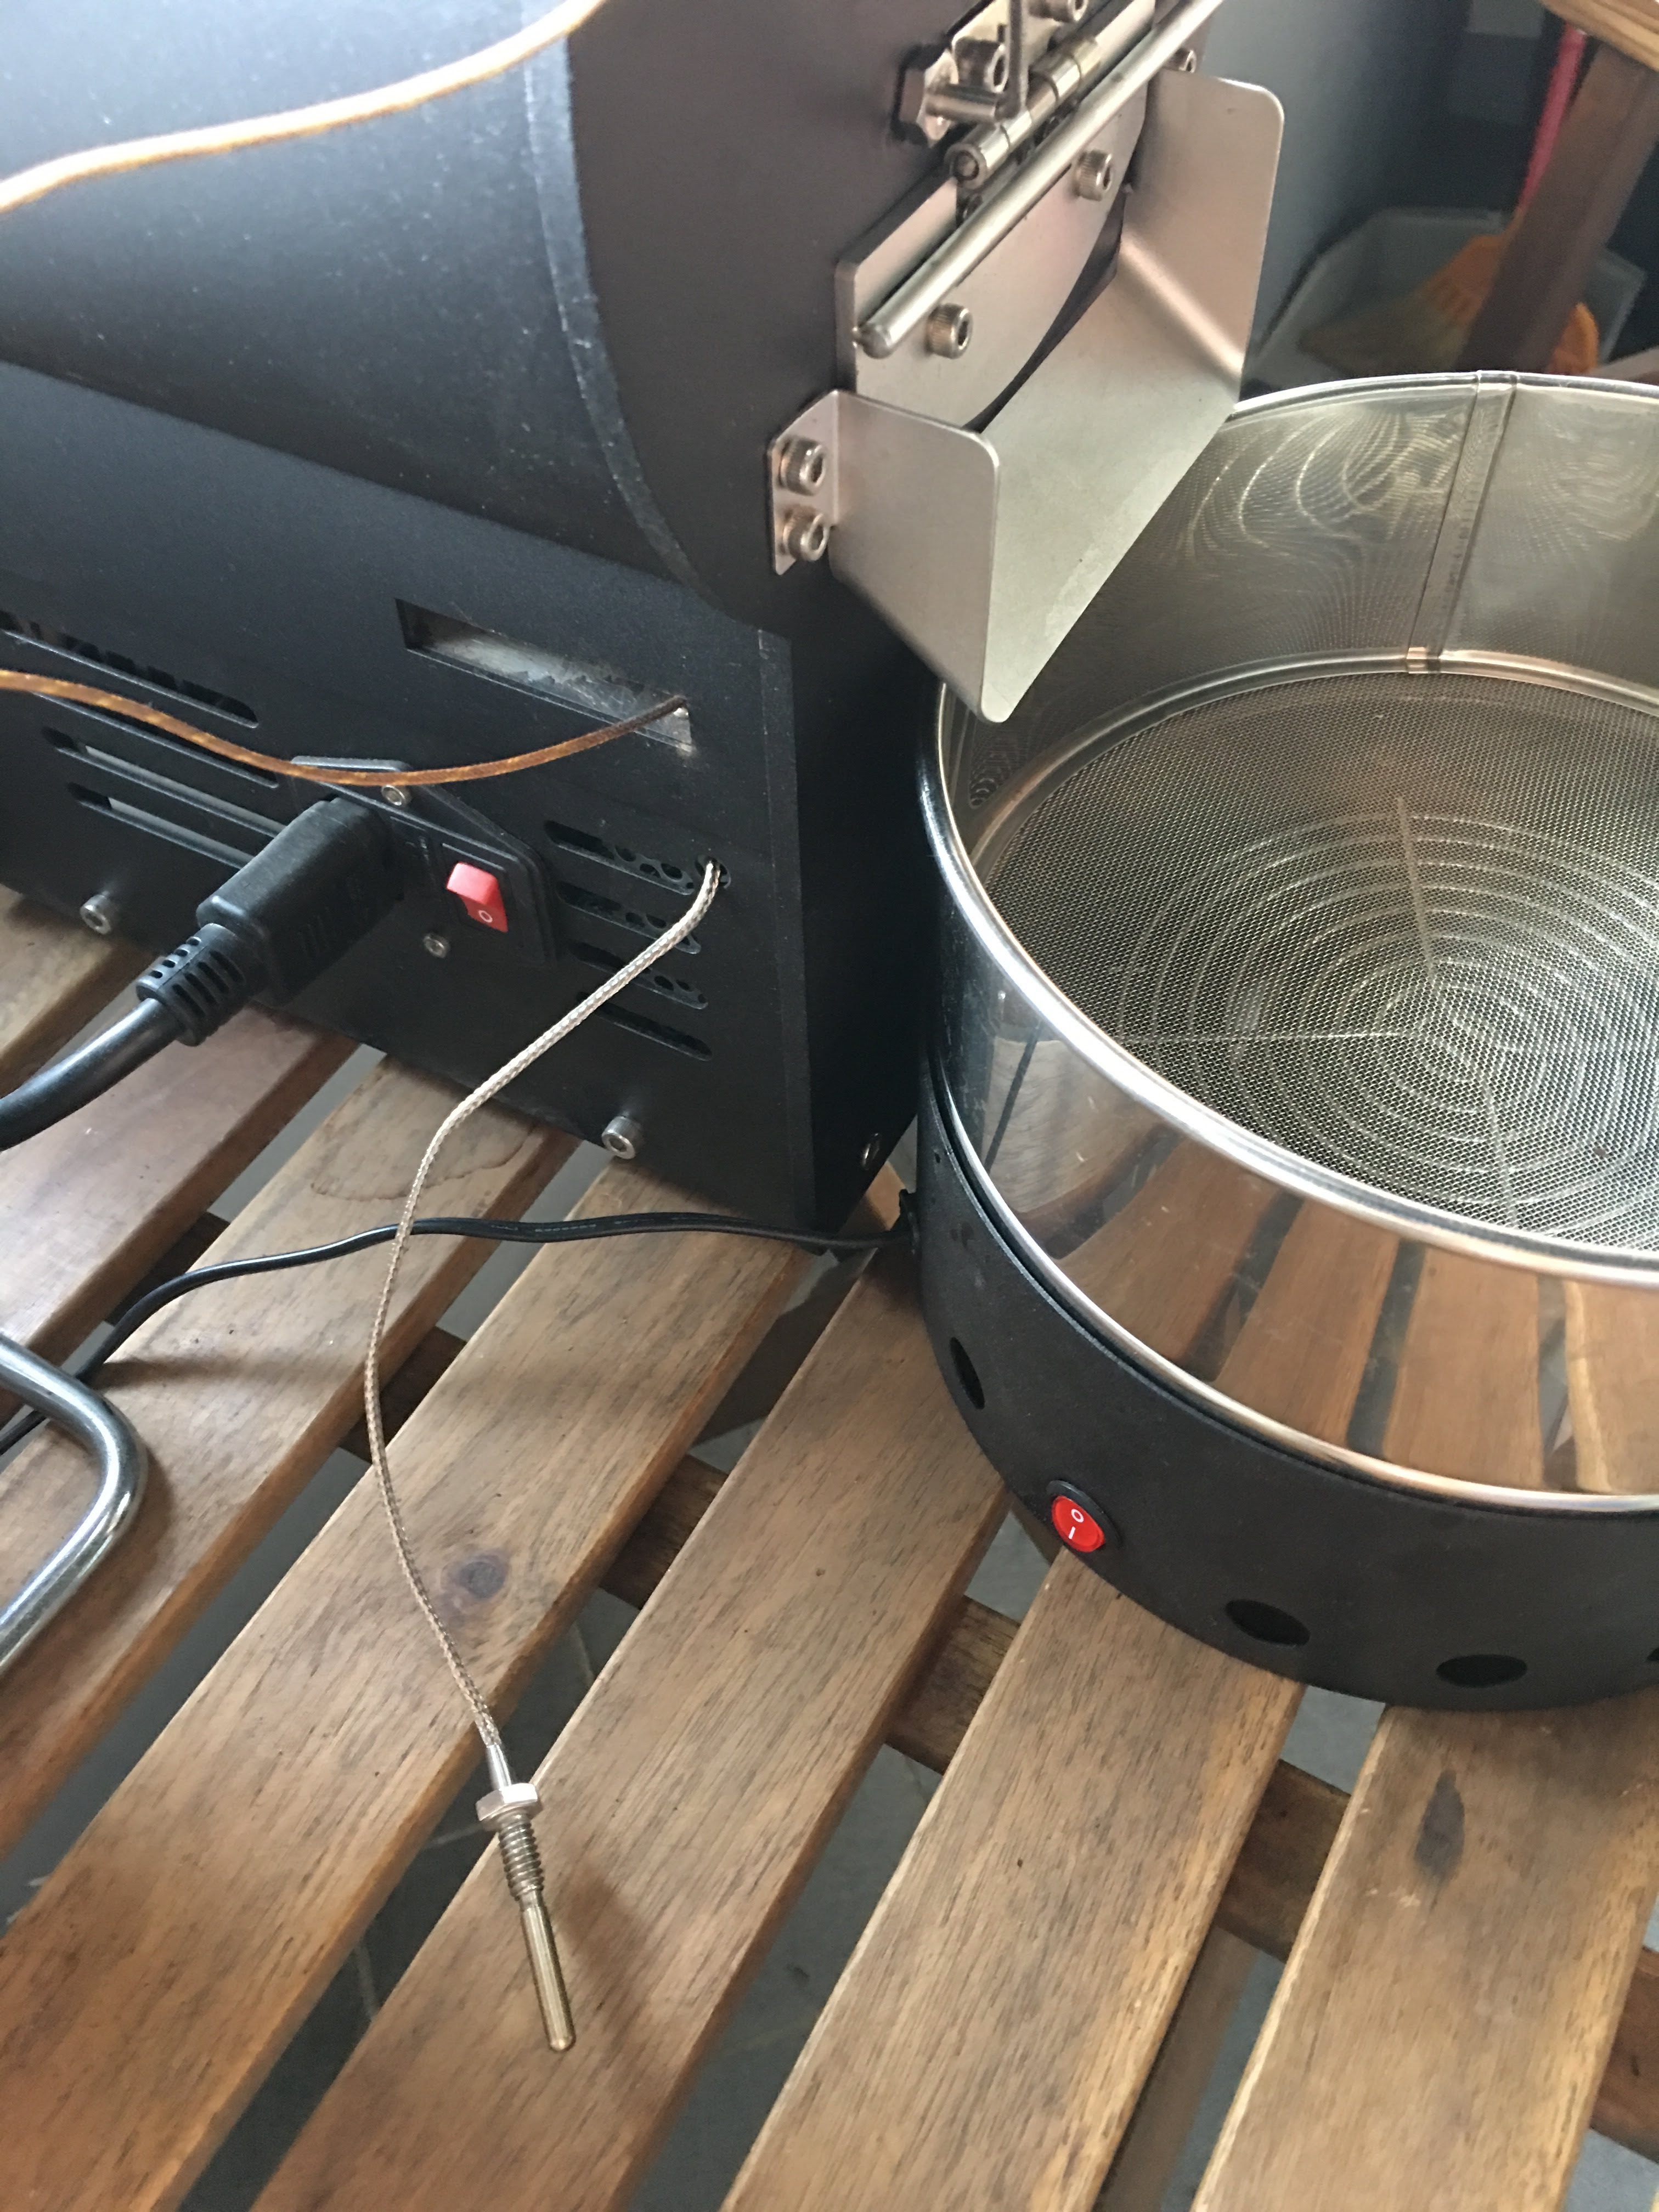
有同好有一樣的困擾 - 如何使用自己的data logging軟體,因此寫了這篇來分享我的簡易改裝。 Background 雲豆子 MERCURY roaster 烘豆機的設計是使用自行開發的軟體,來:1. 操控風門/火力; 2. data logging/自動烘焙。 ...
-
有同好有一樣的困擾 - 如何使用自己的data logging軟體,因此寫了這篇來分享我的簡易改裝。 Background 雲豆子 MERCURY roaster 烘豆機的設計是使用自行開發的軟體,來:1. 操控風門/火力; 2. data logging/自動烘焙。 ...
-
最近這一整個月都在玩大風大火的烘焙。一些心得記錄一下: 2017-09-22 烘豆機: 雲豆子 MERCURY roaster 第1鍋 果丁丁 1 (生豆量:200g,熟豆:171.8g,失重:14.1%) 原本計畫:入豆溫:170 風門一路不變 (MERCURY...
-
 等了非常久的 Mercury 烘豆機 終於到貨了。找了水電來接220V就迫不及待開烘了。 Overall 這是一台CP值非常高的機器,可以說是目前(2017年5月)最接近貴森森營業機種的縮小版。 一應鉅全:有下豆槽,小型化的的風門,銀皮收集桶,跟風管。 ...

